
A food drive is a collection of non-perishable food, shelf-stable goods, or funds gathered by neighbors and handed to a local food bank, pantry, shelter, or similar group. To run one, you call a local food bank first, pick a drop-off site and dates, recruit a handful of volunteers, tell people what you need, then sort and deliver everything within a few weeks.
Most first-time organizers try to do too much. You do not need a nonprofit, a budget, or a permit for a two-week drop box in a church lobby. You need a partner who tells you what they actually want, a table, some boxes, and about six weeks of lead time.
This guide covers how to run a food drive in your neighborhood end to end: what to gather first, the eight steps that carry a drive from idea to impact report, and the mistakes that turn a good intention into a load of unusable food. Budget roughly six weeks, with two to three hours of volunteer time per shift on collection days.
Table of Contents
- What You Need
- Step-by-Step: How to Run a Food Drive in Your Neighborhood
- 1. Define the drive’s goal and needs
- 2. Check food safety and local requirements
- 3. Choose a location, dates, and hours
- 4. Recruit partners and volunteers
- 5. Promote the drive
- 6. Receive and inspect donations safely
- 7. Sort, store, and distribute the food
- 8. Close the drive and share results
- Common Mistakes
- Arriving unannounced with unsorted food
- Running with no written wish list
- Storing donations somewhere that spoils them
- Running on too few volunteers
- Sending food when cash would go further
- Never reporting results
- Frequently Asked Questions
- What food should a neighborhood food drive collect?
- Can a food drive accept homemade or opened food?
- How should volunteers handle food safety during a drive?
- How long can collected food be stored safely?
- Should a food drive give food directly to neighbors?
- How do I measure the impact of a neighborhood food drive?
- Conclusion
What You Need
The list below is small enough to gather in an afternoon. Almost everything on it is free or already sitting in someone’s closet.
- A one-page plan with a date range, a goal you can picture, and the name of one partner organization with a real phone number.
- The partner’s current wish list. Ask for it directly. Generic canned-goods lists are why drives arrive with condiments nobody needs and no protein at all.
- Permission and access. A written or verbal agreement with the venue, a check on whether your HOA or city wants a sign permit, and keys or a code for the storage space.
- Storage that works. A dry, climate-controlled room with room for the volume you expect. A garage or a car trunk is a last resort, and a hot one is a real loss.
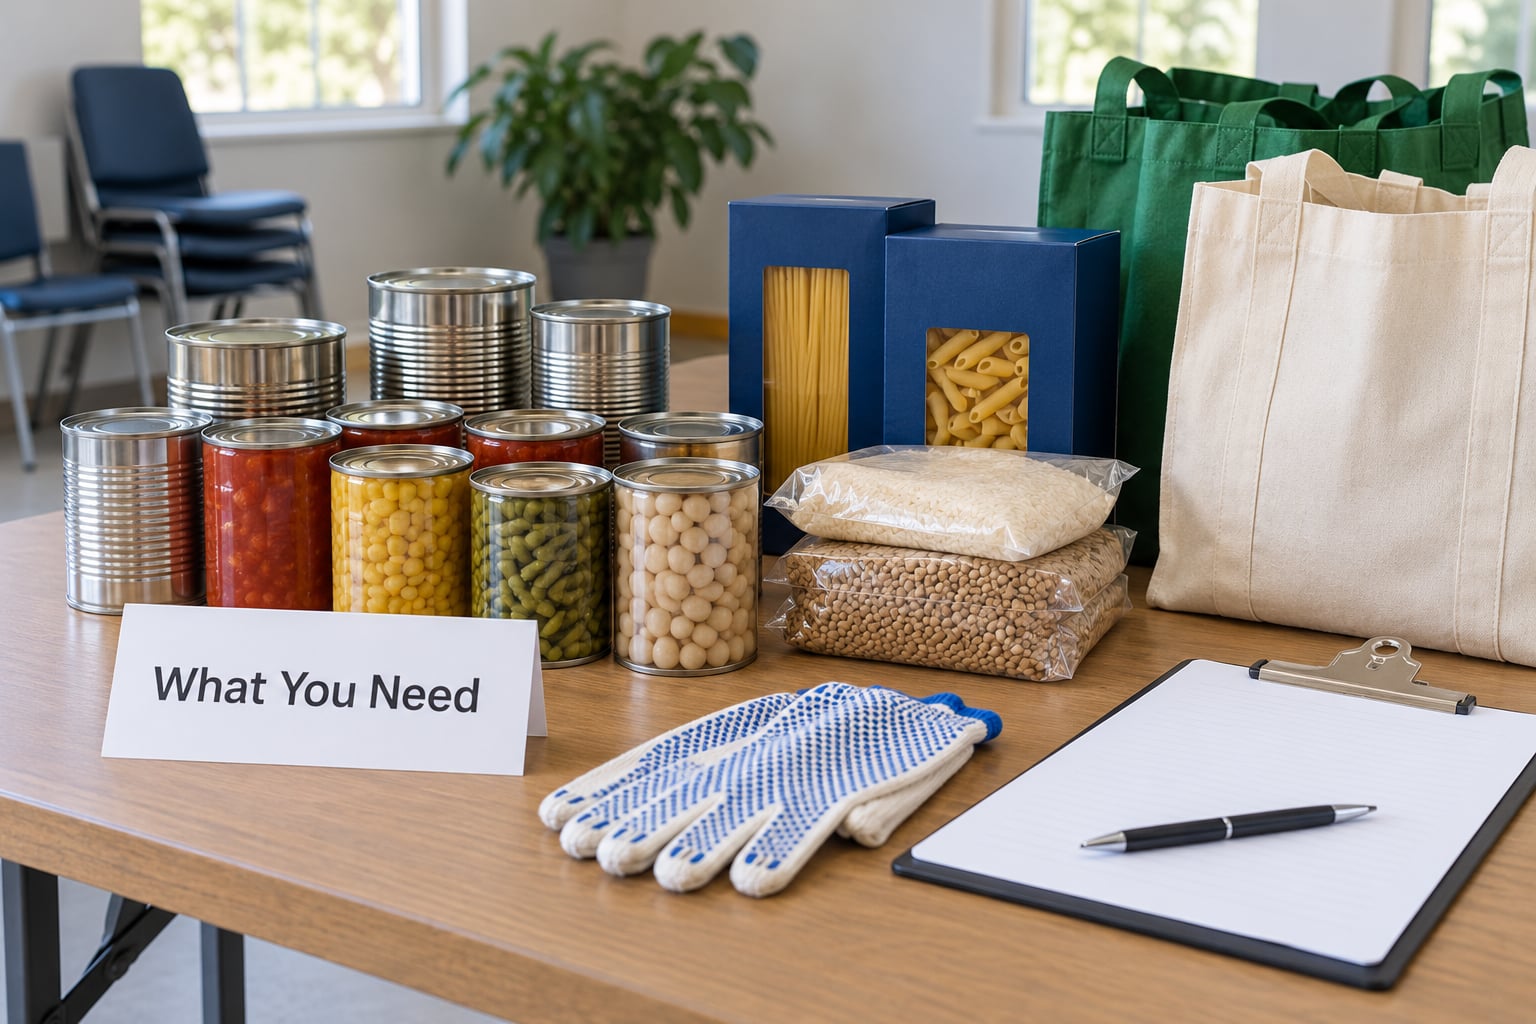
- Basic supplies. Boxes or sturdy bags, a marker, masking tape or labels, a clipboard, a scale if you want weight numbers, gloves, and hand sanitizer at the table.
- A tracking sheet. A notebook or phone spreadsheet with columns for date, item, count, and where it went. Without it you cannot report results.
Skip anything you would have to buy in bulk. A cardboard box, a strip of tape, and a neighbor with a decent handwriting are enough to start.
Step-by-Step: How to Run a Food Drive in Your Neighborhood
1. Define the drive’s goal and needs
Start with a sentence you could say out loud on a doorstep. “We’re collecting shelf-stable food for the pantry on Fifth Street through the end of the month” tells a neighbor more than “we’re doing a food drive.”
Then set a target that can be counted. Ten boxes, forty pounds, 200 cans, 500 dollars, a family per block. Vague goals produce vague results, and organizers who tell their neighbors “as much as we can” usually get less than those who name a number. Decide whether you are collecting food, funds, or both, because that changes your sign and your partner conversation.
You know the goal worked when your tally sheet hits the number you wrote down, or when you can say honestly why it did not.
2. Check food safety and local requirements
Ask your partner, in writing if you can, exactly what they accept. Policies vary by county and by organization, and the people posting in neighborhood groups repeat one thing over and over: call the food bank instead of guessing.
As a baseline, accept food that is unopened, commercially packaged, unexpired, and needs no extra ingredients to eat. That last rule catches the most common problem. Boxed mac and cheese that requires butter and milk, and hamburger helper, cannot be handed to someone as a meal; canned protein and canned vegetables can.
Keep perishable and homemade food out of the drive entirely. Pantries generally cannot accept home-baked or home-cooked food because they cannot verify how it was handled. If your local rules allow a short grace period on dates, treat that as the partner’s decision, not yours.
If you plan to serve anything at the site, or if you will be handling food for a food pantry client, check with your local health department about handwashing and temperature rules. For any cooking question, follow USDA safe minimum internal temperatures: poultry 165°F, ground meat 160°F, and whole cuts and fish 145°F.
You know this step worked when you have a written list of accepted and rejected items that any volunteer could read out loud.
3. Choose a location, dates, and hours
Pick somewhere people already pass: a church lobby, a school entrance, a corner shop’s front window, a laundromat, the end of a block. Apartment complexes and multifamily buildings work well if you get the property manager’s agreement and set boxes near an entrance with foot traffic.
Two weeks beats one weekend. One weekend is fine if your partner has staff to receive it that same day, which many do not. Put the exact hours on every sign, the same hours every time, because the most common complaint in donor threads is not knowing when or where to bring food.
Work backwards from delivery. If your partner can only receive on Tuesdays, your drive window has to end the Monday before. Confirm that date in step one, not the night before.
4. Recruit partners and volunteers
Partners stretch your reach further than volunteers do. Approach a school, a corner shop, a cafe, a faith group, a sports club, a tenants’ association, and any local business that already hands out flyers. A corner shop that stocks your drive table and a school that runs a classroom competition will do more than a dozen extra hands.
For volunteers, aim for four roles and name a person for each: greeter, sorter and counter, transporter, and table captain. Two-hour shifts are easier to fill than four-hour ones, and most neighborhood drives are busiest in the hour before a workday ends and again after school lets out.
Do not build the plan around four people who are already friends with each other. Recruit ten and expect the usual no-show rate.
You know this step worked when your roster has more than one name per role and each person knows the arrival time without asking.
5. Promote the drive
Say what you need, where, and when, in that order, on everything you print. “Canned protein, canned vegetables, peanut butter, shelf-stable milk, and cereal. Drop off at the community room, 4 to 7 p.m., weekdays through the 20th.”
Use the channels you already have. Block captains who knock on ten doors each beat a flyer nobody reads. A neighborhood group post, the school newsletter, the local paper’s community calendar, and a sign in the shop window cover most of it. Send news announcements about two weeks ahead, when local media still has space, and follow up the week of the drive with a photo of the table filling up.
Wording matters more than most organizers expect. Invite neighbors to contribute rather than describing them as hungry. Say “every can helps” instead of “help the needy,” and name the partner so people know a real organization is receiving it.
6. Receive and inspect donations safely
Put one person in charge of the table at all times. That person greets donors, checks each item against the accept list, and records the count before anything goes into a box.
Reject anything swollen, leaking, rusted, torn, or past its date, along with open packages and unlabeled containers. Say it kindly and without hesitation: “We can’t take that one, but canned and boxed items are perfect.” A clear list posted on the table prevents most of those conversations.
Move food off the table quickly. Anything that needs a cooler or a refrigerator goes into one immediately or it does not go on the list at all.
You know this step worked when every box is labeled, every item passed inspection, and your tracking sheet matches the boxes.
7. Sort, store, and distribute the food
Sort by category as it comes in, not at the end. Cans with cans, boxes with boxes, dry goods with dry goods. Keep the partner’s categories in mind: many agencies sort by their own system, and matching it means they spend minutes instead of hours on your donation.
Store everything off the floor and away from walls so air can move. Keep the room cool and dry, and check dates before the food leaves, not just when it arrives. A canned good has a long shelf life, but a box of cereal is not a decade-long investment. Deliver within a few weeks of collection so the food arrives fresh and the shelf space is free for the next delivery.
Distribution is where the dignity question lives. Hand the food to a vetted partner organization rather than handing it out on a sidewalk yourself. A pantry or food bank already has intake rules, a client roster, and a way to record who needs what. Neighbors who show up needing food on your drive day should be given a referral: the nearest pantry, its hours, and help with a SNAP application, not a bag from your car.
You know this step worked when your partner signs off on the delivery and gives you a count or a weight for the impact report.
8. Close the drive and share results
Send the last box within a week. Reconcile your tracking sheet against the partner’s count, get a weight receipt if they use scales, and write the totals down: items, pounds, dollars, and the number of households or blocks that took part.
Publish those numbers where your neighbors will see them, within two weeks. Donors in community threads say the same thing about every drive: they want to know the food reached someone instead of sitting in a warehouse. Post photos of the delivery, thank volunteers by name, and name the partner. Then say what happens next, including whether you are running another drive.
You know this step worked when a neighbor who never donated anything asks you how to help with the next one.
Common Mistakes
Almost every failed neighborhood drive repeats one of the same six problems. Each has a fix that costs nothing.
Arriving unannounced with unsorted food
An unannounced delivery creates work for the staff you were trying to help. Understaffed food banks and pantries say so plainly in organizer threads. Fix it by calling ahead, agreeing on a date and location, and delivering boxed and sorted by category.
Running with no written wish list
Donors bring condiments, novelty cans, and anything requiring extra ingredients, because nobody told them what was needed. Fix it by publishing the partner’s actual list on your sign, and asking for five specific categories rather than “canned goods.”
Storing donations somewhere that spoils them
A hot car, a garage, or a shed in July will cost you a large share of the collection. Fix it by securing a climate-controlled room or shortening the drive to one day so nothing sits.
Running on too few volunteers
When one person handles greeting, counting, and sorting, the queue builds and donors walk out. Fix it with named roles, two-hour shifts, and ten recruits for six slots.
Sending food when cash would go further
Food banks buy in bulk at steep discounts, so a cash donation often buys more than a can. Offer both, and make the cash option easy: a card reader, a QR code, or a check to the partner’s name. Gift cards are welcome too.
Never reporting results
A drive with no impact report looks like a drive that did nothing. Fix it by posting totals within two weeks, including the partner’s name and the delivery date.
Two more things neighbors ask about constantly: non-food items like toiletries, feminine hygiene products, pet food, and spices are genuinely wanted, so put them on the list. And if you are worried your drive collected too little to matter, count it anyway. A small drive that is counted, delivered, and reported is worth more than a large one nobody tracks.
Frequently Asked Questions
What food should a neighborhood food drive collect?
Ask for unopened, commercially packaged, non-perishable food that needs no extra ingredients to prepare. Good categories are canned tuna and chicken, canned beans, canned vegetables, peanut butter, boxed mac and cheese, pasta and rice, pasta sauce, cereal and oatmeal, shelf-stable milk, and canned soup. Always get your partner’s current wish list first, because needs differ by county and by season.
Can a food drive accept homemade or opened food?
No, not in almost any case. Food pantries and food banks generally cannot verify how home-baked, home-cooked, or opened food was handled, so they legally cannot distribute it. Set your rule clearly and print it on your sign: unopened, commercially packaged, unexpired items only. It protects recipients and it saves donors from feeling awkward at the table.
How should volunteers handle food safety during a drive?
Keep donations off the ground, inspect every item before it goes into a box, and reject anything swollen, leaking, rusted, torn, or past its date. Wash hands or use sanitizer before handling, and wear gloves when sorting. Put perishable items in a cooler or refrigerator immediately, or leave them off the request list. If you are serving food, follow your health department’s rules and USDA safe internal temperatures.
How long can collected food be stored safely?
Store it cool, dry, and off the floor, and deliver within a few weeks of collection so it arrives fresh and the partner has shelf space. Canned goods keep for a year or more, but cereal, pasta, and boxed items are best moved quickly. Avoid hot garages, sheds, and car trunks, and check dates again at delivery, not just when items come in.
Should a food drive give food directly to neighbors?
Usually not. Hand your collection to a vetted food bank, pantry, or shelter instead, because those organizations have intake rules, storage, and a way to serve people fairly and privately. If a neighbor comes to you needing food, hand them a referral with the nearest pantry, its hours, and help with a SNAP application, rather than food from your car.
How do I measure the impact of a neighborhood food drive?
Track items by category on a sheet from day one, then reconcile against your partner’s count at delivery and ask for a weight receipt if they use scales. Report items, pounds, dollars, and the number of blocks, schools, or businesses that joined. Publish the totals and photos within two weeks so donors can see the food actually reached neighbors.
Conclusion
Make the first move today: call your local food bank, ask for their current wish list and their intake rules, and write down the answers. Everything after that phone call is a matter of a table, a sign that names five specific items, and enough neighbors willing to help for two hours.
Keep the report honest even if the numbers are smaller than you hoped. A drive counted, delivered, and announced is how the next one gets easier.