To start a community garden, confirm that real people want one, form a small planning group, line up land, and only then buy anything. Most groups that rush past the first step end up with a beautiful pile of lumber and nobody to use it.
The honest timeline runs about six months from first meeting to first seedlings, and the hardest part is not dirt work. It is knocking on doors, writing rules people agree to, and spreading a workload that used to sit on one volunteer.
A community garden is shared ground, often a vacant urban lot, split into individual plots or tended communally by neighbors who pay modest dues and share tools, water, compost, and upkeep. This guide is written for neighborhood organizers, school and youth program leads, faith and housing groups, small nonprofits, and anyone who wants a vacant lot to grow something.
Before the long plan, a few things worth knowing up front. Extension services at land-grant universities publish start-up guides and site-planning checklists for their own state, and they are free. The American Community Gardening Association maintains a network of gardens and organizer resources, which is also where you can find out whether a garden already serves your block. And a short saying that veteran organizers repeat more than any other: you can garden alone, but you cannot have a community garden alone.
Table of Contents
- What You Need to Start a Community Garden Project
- Step-by-Step: How to Start a Community Garden Project
- Define the Garden’s Purpose and Goals
- Find and Assess a Suitable Garden Site
- Build a Steering Group and Ask Who the Garden Serves
- Create a Realistic Budget and Resource Plan
- Choose Crops and Design the Garden Layout
- Prepare the Site and Establish Garden Practices
- Launch the Garden with an Orientation and Work Plan
- Create a Maintenance and Community Governance Plan
- Common Mistakes and How to Fix Them
- Frequently Asked Questions
- What are the 10 steps to starting a community garden?
- What do you need to start a community garden?
- How much money does it take to start a community garden?
- How do I run a community garden once it opens?
- How do I get people to join a community garden?
- Should I use raised beds or plant directly in the ground?
- Start With One Clear First Step
What You Need to Start a Community Garden Project
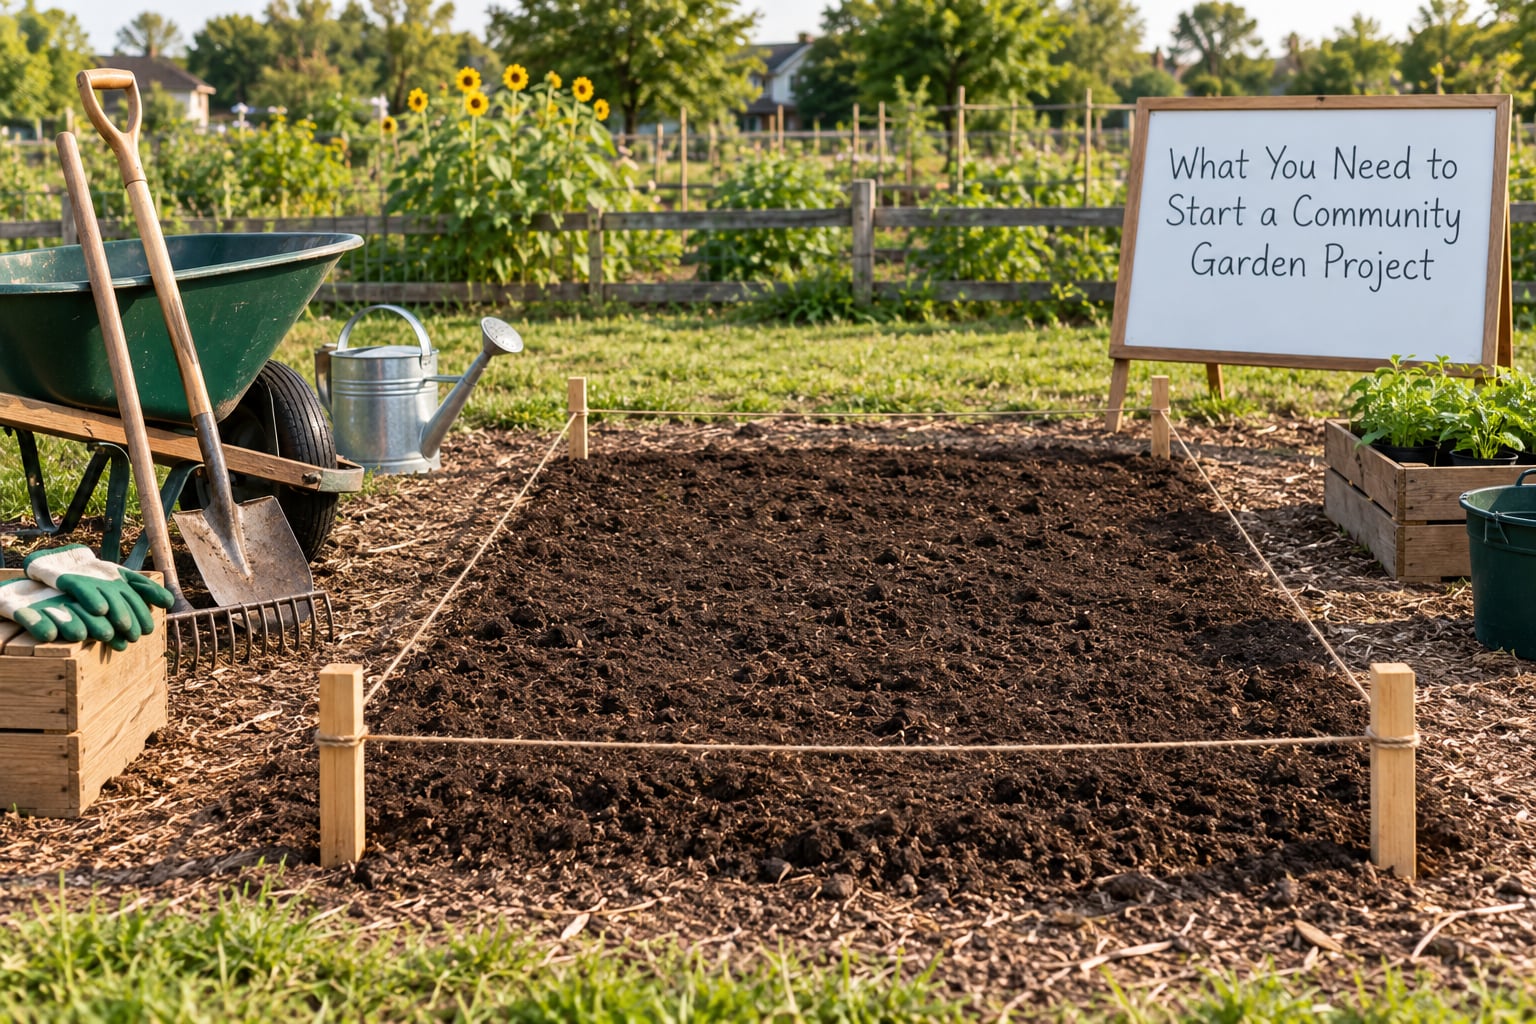
A community garden project needs nine things, and only three of them are physical. Sort your list into people, place, paperwork, and materials, and the first-season version gets much lighter.
The people side is a planning group of three to five committed volunteers, with a wider circle of at least ten interested households. Experienced organizer networks treat ten families as the practical floor: below that, one person dropping out can stall the whole project.
The place side is a site with six or more hours of direct sun for most vegetables, workable drainage, safe access, and permission to use the ground. Paperwork means a landowner agreement, a liability policy, a written ruleset, and any zoning or permit answers from your city.
Materials are the easy part, and they can wait. Soil test results, a tool set, seeds, water access, a compost plan, and a place to store equipment cover it. Volunteer support is its own line item, and it should be written into the schedule from day one rather than hoped for.
So what do you need to start a community garden? A clear purpose, five people who will show up, one plausible site, permission to use it, a small budget with a fallback, and a named person responsible for each of the eight jobs below. Everything else is detail you can work out in the open once those exist.
Step-by-Step: How to Start a Community Garden Project
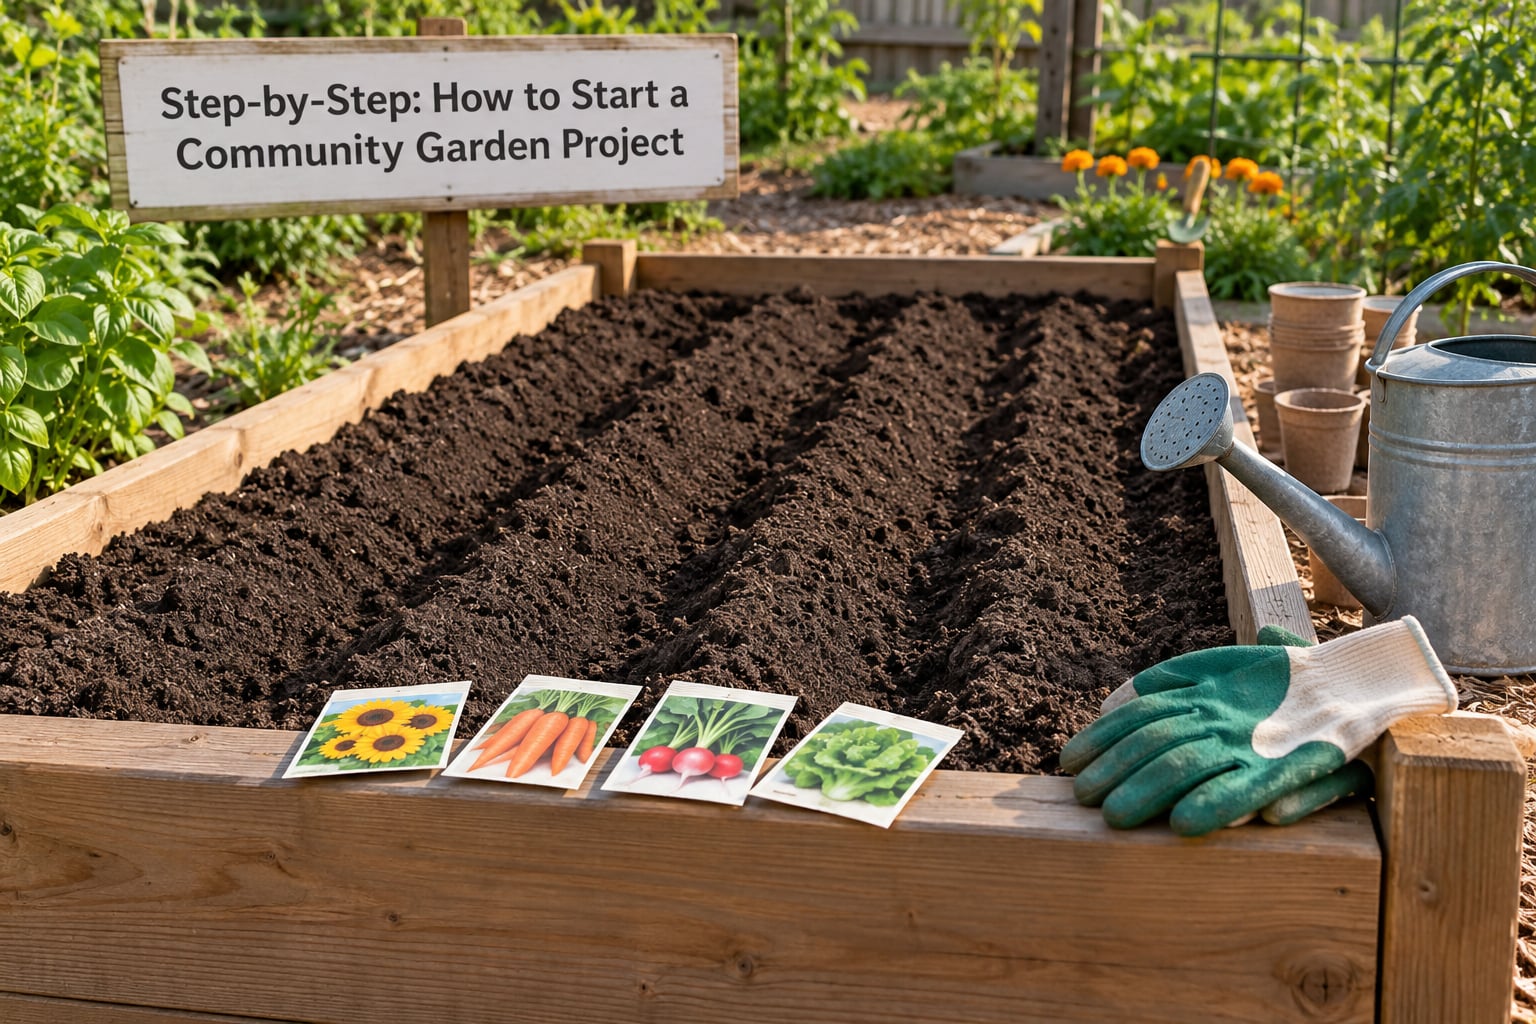
Eight steps, in this order. Skipping ahead is how projects get a site they cannot water or a rule set that gardeners ignore in year two. Move through them at the speed your group can actually decide things, not the speed you would like to plant.
Define the Garden’s Purpose and Goals
Write one sentence describing who the garden is for, then test whether that sentence fits the ground you have. A garden for older residents in one building needs wide paths and seating; a grow-to-donate plot behind a pantry needs volume, drip irrigation, and volunteers who can harvest on schedule.
Most gardens pick one of a few shapes. Plot-based gardens assign individual beds, and the gardener keeps the harvest. Communal gardens work one set of beds together and split the food. Donation gardens grow only for a partner pantry or fridge. Educational gardens prioritize teaching over yield, with a school or youth program at the center. Restricted gardens serve one group, such as a housing complex or a recovery program. Plenty of successful gardens combine two, such as individual plots plus one shared donation bed.
Then set two or three first-season goals you could actually measure: twenty gardeners enrolled, six workdays held, one harvest table at the summer market, or a hundred pounds of produce delivered. Goals you can count in the fall turn into the yearly review that keeps the garden alive.
Also check whether a garden already serves your area. Ask the library, the neighborhood association, and your Extension office, and walk the two blocks around your proposed site on a Saturday morning. Starting a second garden where the first one is struggling is a common and avoidable mistake.
Find and Assess a Suitable Garden Site
A good site gets sun, drains, has water close by, and can be reached without a car. Most vegetables want six or more hours of direct sun, so a lot that looks sunny in April may be shaded by a building by late May. Visit a candidate site three times: mid-morning, mid-afternoon, and again after rain to watch where water sits.
Walk the boundary and note the slope. Ground that tilts more than a few degrees sideways will erode and pool, and it makes an accessible path difficult. Look for overhead power lines, buried utilities, and old foundations, and call your local utility locate service before anyone drives a stake into the ground.
Check who owns the land through the county tax assessor and the city land inventory. Vacant lots often sit in public trust, a housing authority, a school district, or a bank’s holdings, and each has a different process and a different timeline. Expect the public process to take longer than you want and to require insurance and a written agreement.
Then look at how people get there. A beautiful lot two miles away with no bus route is a members-only garden in practice. Measure the walk from the nearest homes, apartment blocks, and transit stops, and note whether a stroller, walker, or wheelchair can get down the path.
Ask for a three-year term at minimum, five if the landowner will agree, and get the agreement in writing whether it is called a lease, a land use agreement, or a memorandum of understanding. A hold harmless clause and a general liability policy are commonly required before any city department will sign.
Build a Steering Group and Ask Who the Garden Serves
Recruit the planning group before you recruit the gardeners. Three to five people who can meet monthly and stay through year two is the working minimum, and a treasurer and a site lead are the two roles worth filling in week one.
Ask in person. Flyers alone reliably underperform, and organizers say so repeatedly. The version that works sounds plain: I would like to start a community garden on this lot, here is what I already know, here is what I still need, could you please help me with this one thing. Specific requests convert far better than a general invitation to get involved.
Go where people already gather: church and mosque groups, tenant associations, the food pantry, the recreation center, the school, the fire station, the senior center, and the corner store where the flier can go behind the counter. Ten sign-ups in four weeks is a real signal. Two names and no follow-up calls is not.
Decide who gets to decide what, and write it down. Who assigns plots, who sets dues, who resolves a complaint, who signs a lease, who can spend the money. Leaving these implicit is how a well-meaning group ends up unable to act when a pipe bursts in July.
Make participation reachable for people who are not already your friends. Offer a language other than the group’s default, schedule work during evening and weekend hours as well as mornings, include raised beds at a comfortable height for people who cannot kneel or stand, and pair new gardeners with an experienced one for the first season.
Create a Realistic Budget and Resource Plan
Split the budget into one-time build costs and annual operating costs, and mark each line as donated, borrowed, discounted, or purchased. That four-way split is where most groups find savings, and it makes the ask to a sponsor or grant much easier to say out loud.
Most first-season builds land in the low thousands once beds, water access, tools, compost, fencing, and insurance are counted, and the widest swings come from three decisions: whether you build raised beds or work the ground, whether water arrives by hose or by meter, and whether anyone hires a contractor. A volunteer-built garden on good soil at the far end of a block can start for a fraction of a fenced, plumbed, contractor-built one downtown.
| Category | What it covers | Low-cost path |
|---|---|---|
| Land and paperwork | Lease or land use agreement, legal review, permits | Use a landowner agreement template from your Extension office; ask a local law clinic to review it |
| Soil and beds | Compost, soil tests, lumber or cinder blocks, liner for contaminated ground | Sheet mulching and cardboard in-ground beds; municipal compost programs often supply finished compost |
| Water | Hose bib, meter hookup, drip lines, rain barrels | Share a spigot with an adjacent property; gravity-fed drip from a rain barrel or a rooftop tank |
| Tools and storage | Hand tools, wheelbarrow, gloves, a lockable shed | Borrow from a church or tool library; start with hand tools only and skip the shed year one |
| Safety and access | Fencing, paths, signage, first aid, raised accessible beds | Wood chip paths from a local tree service, often delivered free; volunteer-built fence line |
| Insurance and legal | General liability policy, hold harmless waiver, participant sign-in | Nonprofit or municipal programs often add garden coverage to an existing policy |
| Programming | Workshops, translation, childcare during workdays, harvest events | Volunteer-led sessions, a library partnership, donated refreshments from a local grocer |
Ask for money in three directions at once. Sponsors adopt a bed or a square foot of the site, which works well with local businesses, hardware stores, and congregations. Grants from city environmental or neighborhood funds often cover build-out, and your Extension office usually knows the local ones by name. In-kind donations cover the unglamorous needs: a tree service that drops wood chips, a plumber who fixes a bib, a grocer who donates the wood for a sign.
Open a dedicated bank account on day one and put a treasurer in charge of receipts. A shared personal account is the fastest way to lose a group’s trust.
Choose Crops and Design the Garden Layout
Decide what to grow from your limits, not from the seed catalog. Write down how many hours a week your group can realistically give the garden during July, how far the beds are from a spigot, and how many gardeners will show up for a workday. That answer sets the scope.
Most first seasons want a short list: tomatoes, beans, squash, salad greens, herbs, and a few sturdy root crops. They are forgiving, productive, and familiar, which matters when a new gardener is learning. Add perennials, cut flowers, or a specialty cultural crop as a small block rather than the whole garden.
For the layout, think in the order people move through the site. Put the tool storage and compost near the entrance and the vehicle drop-off, put water where the most beds can reach it without crossing a path, and put accessible beds closest to the entrance on firm, level ground. Paths wide enough for a wheelchair or a wheelbarrow should run the length of the garden, not just around the edge.
Most vegetables want roughly four feet of bed width to be workable, with paths between. Keep a trellis area along one edge so tall crops do not shade everything next to them, and leave room to expand without re-planning the whole site.
Design in phases. Build the beds, water, and paths in year one, and add the shed, fencing, seating, and larger compost system in year two. A phased plan lets you open the garden on time with what you have, which is far better than waiting three years for a complete site.
Prepare the Site and Establish Garden Practices
Order the site work so the expensive mistakes happen first. Test the soil before you build, not after, and expect the results in a few weeks. Urban and previously used ground can carry lead and other heavy metals, and many Extension offices and local health departments run low-cost or free soil testing for gardens.
If the test comes back high, you have workable options. Build raised beds with a plastic or fabric liner to separate the garden from the native soil, use certified clean soil, and grow leafy greens in containers. Do not simply till the ground and hope; a contaminated lot is the one problem that can make a garden unsafe rather than merely disappointing.
Clean the site, remove debris, and mark the utilities before anyone digs. Then build the beds, add finished compost, and lay paths. Set up the water access, the compost bins, a tool storage spot with a lock, and clear signage at the entrance with the address for emergencies.
Agree on the growing practices before the first planting, because changing them mid-season creates arguments. Most gardens land somewhere sensible: no synthetic herbicides, a shared approach to problems that starts with row covers and hand removal, integrated pest management, and a compost system that recycles the garden’s own waste. A drip line under mulch cuts water use sharply compared with overhead sprinklers in hot weather.
Pick a harvest and sharing policy in writing too. Some gardens keep everything, some split the communal beds by hours worked, and some send a fixed share to a pantry. Deciding now prevents the ugliest kind of year-one conflict.
Launch the Garden with an Orientation and Work Plan
Turn interest into commitment with an application. A simple form asking for name, contact, household size, experience level, plot size requested, and any accessibility needs does more than sort plots; it tells you who will actually show up. Many groups ask for a modest refundable fee or annual dues at the same time, which filters out curiosity into participation.
Hold one orientation before the season starts, and keep it to an hour. Walk the site, hand out the rules, show the water system, the compost, the tool shed, and the accessible beds, then let people ask the awkward questions in person. Record the session for the members who could not attend.
Schedule a work party to build the site, and schedule it before opening day, not on it. Then hold an opening event that anyone in the neighborhood can walk through, even non-members. That is how a members’ garden becomes a community garden in the way people actually use the phrase.
Set the communication rhythm early: a group text or message list for the growing season, a monthly newsletter, and a visible calendar of workdays. Tell people how to raise a problem and how fast someone will answer. Silence gets read as indifference, and the people who care most are the first to stop trying.
Create a Maintenance and Community Governance Plan
Running a community garden comes down to a written schedule of jobs with names against them. Watering, weeding, path upkeep, tool care, compost turning, harvest, signage, and the monthly newsletter each need an owner or a rotating pair. If a job has no name next to it, it has no owner.
Set rules at the level of the garden rather than the person. Common commitments: keep the plot weeded through the growing season, attend a set number of workdays, keep paths clear, water on your assigned days, use the shared tools and return them, follow the water and compost practices, and tell the group two weeks before abandoning a plot. Add a plot fee and a refund or reduced rate for anyone who needs it, because a flat fee is the quiet way gardens exclude people.
Write down what happens when a plot is abandoned. A written policy of notice, a few weeks to clear the plot, then a reassignment, keeps the decision from becoming a personal argument. Volunteer hours work the same way when they are tied to a specific, published list of jobs.
Paperwork is part of running it, not an afterthought. Carry a general liability policy, have participants sign a hold harmless waiver, keep a sign-in sheet at workdays, and if you are a school, a housing organization, or a nonprofit, confirm whether your existing policy already covers the site. Hold annual meetings where the group reviews the season, the budget, the rules, and who fills each role next year.
Then plan the calendar. It keeps everything in the right season instead of everyone remembering in April.
| Season | Focus | Key tasks |
|---|---|---|
| Summer into fall | Interest and people | Knock on doors, talk to existing groups, hold a listening meeting, gather ten names, form a planning committee |
| Fall | Land and site | Check the tax assessor and land inventories, visit candidate sites, request soil tests, talk to the city about zoning and permits |
| Winter | Paperwork and money | Write the landowner agreement, get liability insurance, draft the rules, build the budget, apply for grants, order materials |
| Late winter | People and planting | Open applications, hold orientation, plan the plot layout, order seeds, recruit work parties |
| Spring | Build and plant | Build beds and paths, hook up water, run the work party, plant, hold opening day |
| Summer onward | Grow and maintain | Water rota, workdays, harvest, programming, mid-season review, dues for next season |
Common Mistakes and How to Fix Them
Most stalled community gardens fail for the same handful of reasons, and the early warning signs show up months before the garden closes. Here is what goes wrong and what to do about it.
The most common mistake is securing land before confirming people want a garden. Organizers solve infrastructure first because it feels concrete, then discover the demand was never tested. The fix is a threshold, not a feeling: ten households who have asked to be told when enrollment opens, and a planning group of three to five who commit to a year.
Choosing a poor site is the second most expensive error. Shade, no water, contaminated soil, or a location nobody can walk to all show up after the beds are built. Assess three times, test the soil early, and measure the walk from the nearest homes before you commit to a lease.
Planting too much is the most common growing mistake. A group that tries to feed a food pantry from a first-year plot sets itself up for a failed harvest and a disappointed partner. Grow what your volunteers can harvest on schedule, and expand the donation bed in year two once you know the actual yield.
Skipping the soil test is a shortcut that only looks harmless until lead turns up in a leafy crop. On any lot with a history of housing, industry, fill, or demolition, test first. Raised beds with a liner are a genuine fallback, not a defeat.
Ignoring permission is rarer than it sounds, and the penalty is severe: a group can spend a season improving a lot it has no right to use. Confirm ownership, get a written agreement of three years or more, and check whether the city requires a permit for a garden rather than treating it as landscaping.
Underestimating water and maintenance causes the quiet fade. Someone’s hose does not reach the far bed, so the far bed dies, so that gardener leaves. Then another plot goes untended. Map the water first, extend the lines, and publish the watering rota with names on it.
Skipping accessibility and language access costs a garden part of the neighborhood it was meant for. Wide firm paths, raised beds, a translated orientation, and evening workdays are cheap compared with rebuilding later. Ask who is missing from the sign-up sheet and fix that specific gap.
Organizer burnout is the failure mode nobody plans for, and it ends more gardens than weather. If one person holds the lease, the bank account, the key, and the only relationship with the landowner, the garden dies when they move. Every role needs a second person, and the annual meeting is where you hand them over.
Frequently Asked Questions
What are the 10 steps to starting a community garden?
A workable order is: confirm interest, define purpose, find and assess a site, get permission in writing, test the soil, form a planning committee, budget and fund, design the layout, write the rules, then recruit, build, and open. Interest comes first because land without people produces an empty lot, and the soil test comes before beds are built so a lead problem can still be fixed with liners and clean soil.
What do you need to start a community garden?
Nine things: a clear purpose, a planning group of three to five committed volunteers, at least ten interested households, a site with six or more hours of sun and safe access, written landowner permission, a soil test, a small budget, a tool and water plan, and a named owner for each recurring job. Only three of those are physical. The rest are people and paperwork, and they take longer.
How much money does it take to start a community garden?
Most first-season builds land in the low thousands once beds, water access, compost, tools, and liability insurance are counted, while the annual running cost is much smaller. Three choices move the number most: raised beds versus in-ground soil, hose versus metered water, and volunteer versus contractor labor. Sponsors who adopt a bed, small local grants, and in-kind donations cover a large share in practice.
How do I run a community garden once it opens?
Running one is a scheduling problem. Keep a written job list with names against each task: watering, weeding, paths, tool care, compost, harvest, and communication. Hold monthly workdays, publish a written ruleset with dues and an abandonment policy, keep liability insurance and waivers current, and run an annual meeting to review the season and hand roles to new people.
How do I get people to join a community garden?
Ask in person, with one specific request each time. Say plainly that you want to start a garden, say what you know and what you still need, and ask for one thing: a signature, a ride to the site, a phone call list, a translation, a donation of wood chips. Ten sign-ups in a month is a real signal. Flyers alone usually underperform, and an empty lot proves nothing.
Should I use raised beds or plant directly in the ground?
Plant in the ground when the soil tests clean, the site drains well, and you have volunteers for digging. Use raised beds on rocky, contaminated, or poorly draining ground, anywhere accessibility requires a comfortable height, and when you want a garden to open this season rather than next. Liner the beds if heavy metals are a concern, and use certified clean soil and compost.
Start With One Clear First Step
Everything above collapses into one action this week: hold a short listening meeting with the five people who have already said yes, write the garden’s purpose on one page, and walk two or three candidate sites together before anyone signs a lease or spends money.
That order is the whole method. Interest, purpose, site, people, paperwork, budget, design, rules, build, open. Take the steps in that order and a community garden project is likely to reach its second season, which is where most of them decide whether they last.
For more help, your Cooperative Extension office at the land-grant university publishes a start-up guide and site-planning checklist for your state, and the American Community Gardening Association keeps a directory of gardens and organizer resources you can borrow templates from.