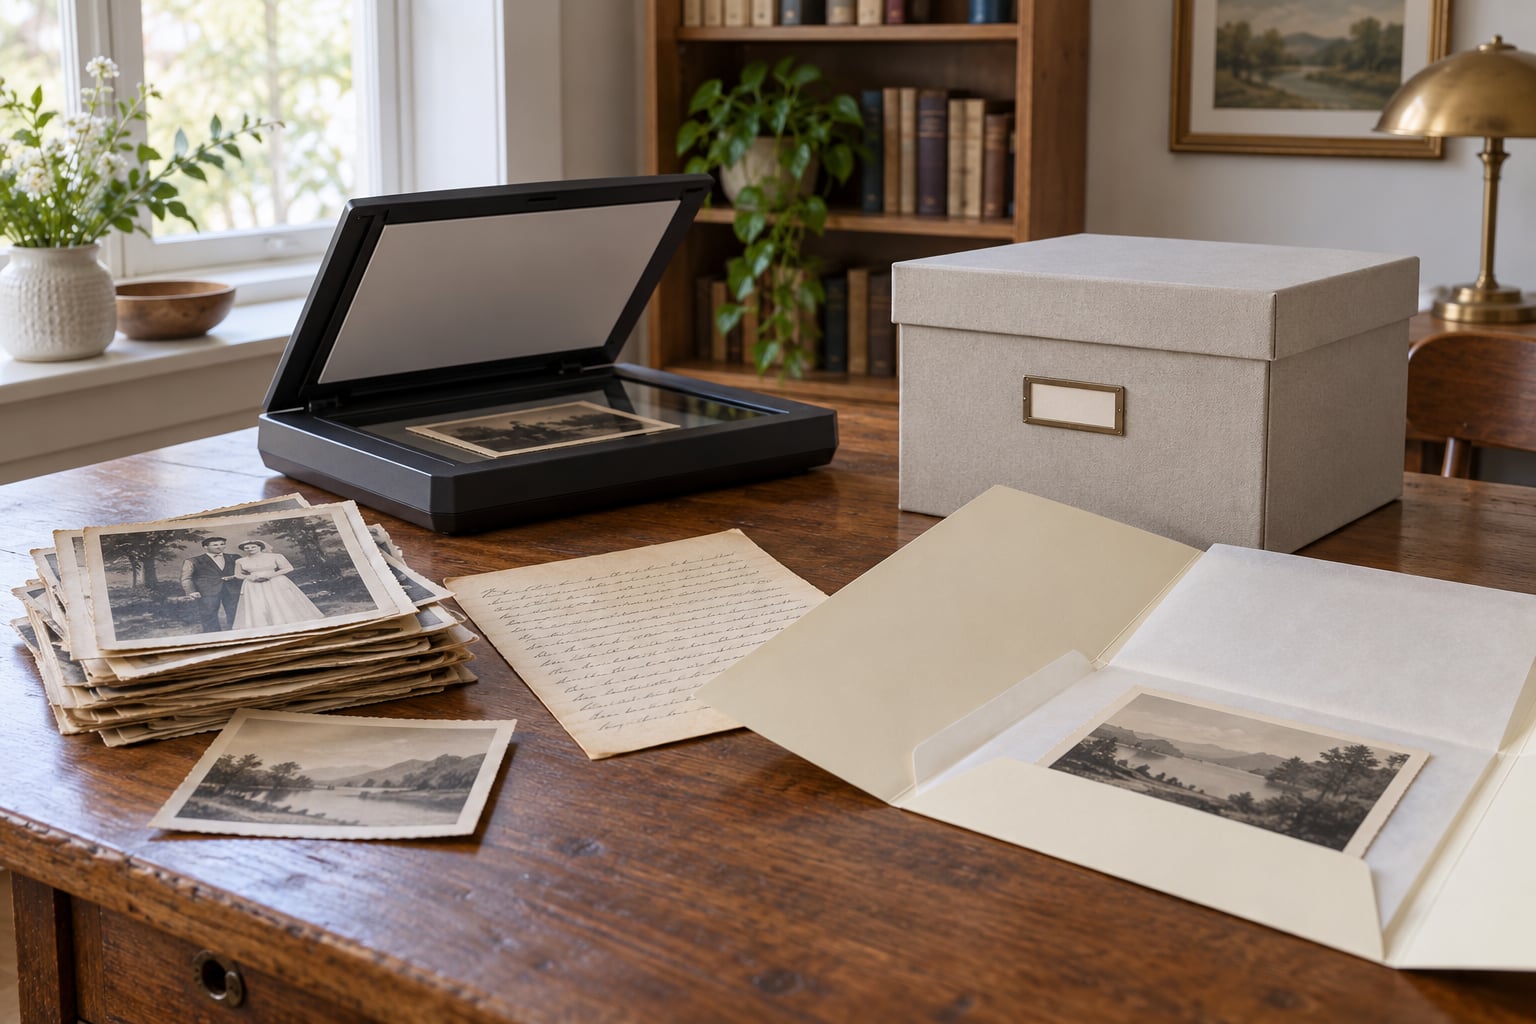
How to preserve old family documents and photos comes down to four things: handle them with clean hands, put every item in an acid-free folder or sleeve, store that box somewhere cool, dry and dark, and make a careful digital copy with backups in at least two places. That is the whole method, and it works on a shoebox budget or a library budget.
Most family archives are not destroyed by age. They are destroyed by plastic wrap, tape, a damp basement, a hot attic, and a phone that failed before anyone copied the pictures. Paper and photographic emulsion last far longer than most people assume when the storage is right.
This guide takes an afternoon to start and scales to a collection of any size. The hardest part is not the supplies, it is deciding what to keep and what to write down before you touch anything.
Table of Contents
- What You Need
- Step-by-Step
- How to Preserve Old Family Documents and Photos Step by Step
- 1. Sort the Collection by Format and Condition
- 2. Clean the Workspace and Handle Items Carefully
- 3. Create Archival Storage for the Originals
- 4. Scan or Photograph Each Item Clearly
- 5. Organize and Back Up the Digital Copies
- 6. Store the Collection Safely
- 7. Create a Record for Future Family Members
- Common Mistakes
- Frequently Asked Questions
- How do I know whether an old family document needs a professional conservator?
- Should I remove staples, paper clips, or tape from old family papers?
- What is the best way to store old photographs without fading?
- How can I tell whether a document or photograph is historically valuable?
- Should I laminate or frame old family documents?
- What should I do if old photos or papers have mold or water damage?
- Start With the Most Fragile Item
What You Need
You can start with very little. A plastic bin, a notebook, and a scanner will get you most of the way, and you can upgrade containers as money allows.
- Clean, dry hands. Wash and dry before every session. Skin oils cause staining that never comes out.
- Nitrile gloves for photographs, negatives, slides, daguerreotypes, tintypes and ambrotypes. Not cotton gloves, which snag emulsion, and not bare hands for photographic material.
- Acid-free folders and sleeves. Look for lignin-free buffered paper for documents, and polyester sleeves that have passed the Photographic Activity Test for prints and negatives.
- Archival boxes that fit the folders, plus dividers or spacers so items stand upright without leaning.
- A scanner or a copy stand. A flatbed works for most prints; a document camera or overhead phone rig handles bound albums and anything fragile.
- Labels and a soft pencil. Never pen, never marker on an original. Adhesive labels on sleeves, not on the item.
- Two backup drives. One for the working set, one kept somewhere else in the house, plus off-site copies.
A plain cotton sheet or a clean sheet of paper makes a fine padding surface for fragile sheets. A soft, clean brush lifts dust from paper surfaces before scanning.
On a tight budget, polypropylene bins marked with recycle code 5 are a reasonable interim home for acid-free folders, and a closet beats an attic every time. Treat any plastic container as a short-term solution, not permanent storage.
Step-by-Step
How to Preserve Old Family Documents and Photos Step by Step
Preserve old family documents and photos by working in one direction, in order, rather than jumping between boxes. Inventory, then prepare the space, then store, then digitize, then back up, then record what you did. Each stage makes the next one easier.
1. Sort the Collection by Format and Condition
Spread everything out and separate it into working groups: loose photographs, bound albums, newspaper clippings, letters, certificates, negatives, slides, and fragile paper. Sorting by format matters because different materials need different enclosures and different environments.
Sort by condition too. Set aside anything brittle, torn, faded, stuck together, moldy or water-damaged. Those items go in a separate flagged pile for a professional conservator, not into the cleaning pile.
Write a quick inventory while you sort. For each item note a name, an approximate date, where it came from, who is in it, and its condition. Three sentences per box beats nothing, and this record is what future family members will thank you for.
If the volume feels paralyzing, pace it. One weekend to sort and bag, a second to store properly, a third to digitize. Rushing a fragile box is how damage happens.
2. Clean the Workspace and Handle Items Carefully
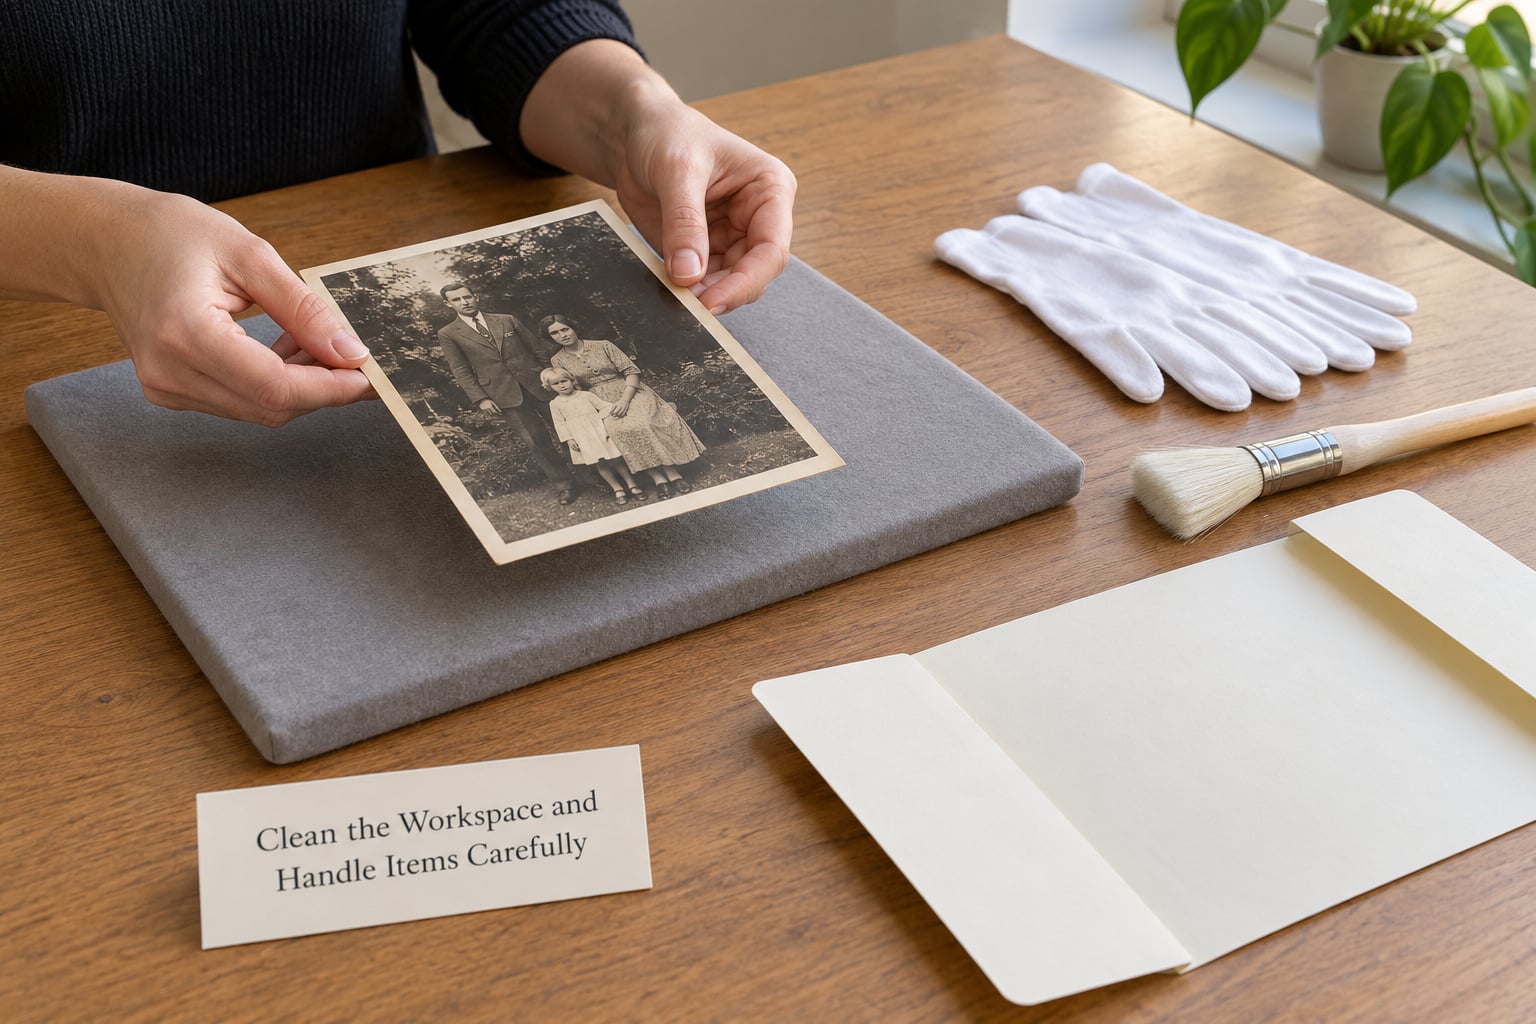
Wash and dry your hands first, then clear a table and wipe it down. Bare, clean hands are correct for paper documents. Gloves are correct for photographs and any metal or glass-based image, because those surfaces pick up oils from skin very readily.
Lift photographs by their edges with two hands, never by the corners alone. Support a document underneath with a second sheet so its weight never pulls at a tear. When an album is open, support both sides with foam core or cardboard so the binding does not take the load.
Open books and albums only to 90 degrees. Repeatedly forcing a spine wider causes cracking along the fold, and that damage is permanent.
3. Create Archival Storage for the Originals
Place documents in individual acid-free folders, one folder per person or event where possible. Keep ten sheets or fewer in a folder so nothing sits under heavy pressure, and interleave buffered lignin-free paper between documents whose inks or fibers are unknown.
Put photographs in polyester sleeves that carry the PAT mark, and keep fragile prints in a polyester sleeve backed by a buffered paper support. Encapsulating a print this way protects both sides without adhesives touching the image. Do not sleeve a photograph that has active mold or surface dirt; clean it first or leave it alone.
Group related items in an archival box and keep related items together. Labels go on the folder and the box, written in soft pencil or on adhesive slips, listing the family name, the date range, and what is inside.
Newspaper clippings fade fastest because of the wood pulp paper and residual processing chemicals. Interleave each clipping with buffered paper so one does not touch another, and keep the whole run of clippings in its own box rather than mixed with photos.
Overfill a box and the bottom items bow under load. Leave finger room at the top so you can retrieve items without dragging neighbors out.
4. Scan or Photograph Each Item Clearly
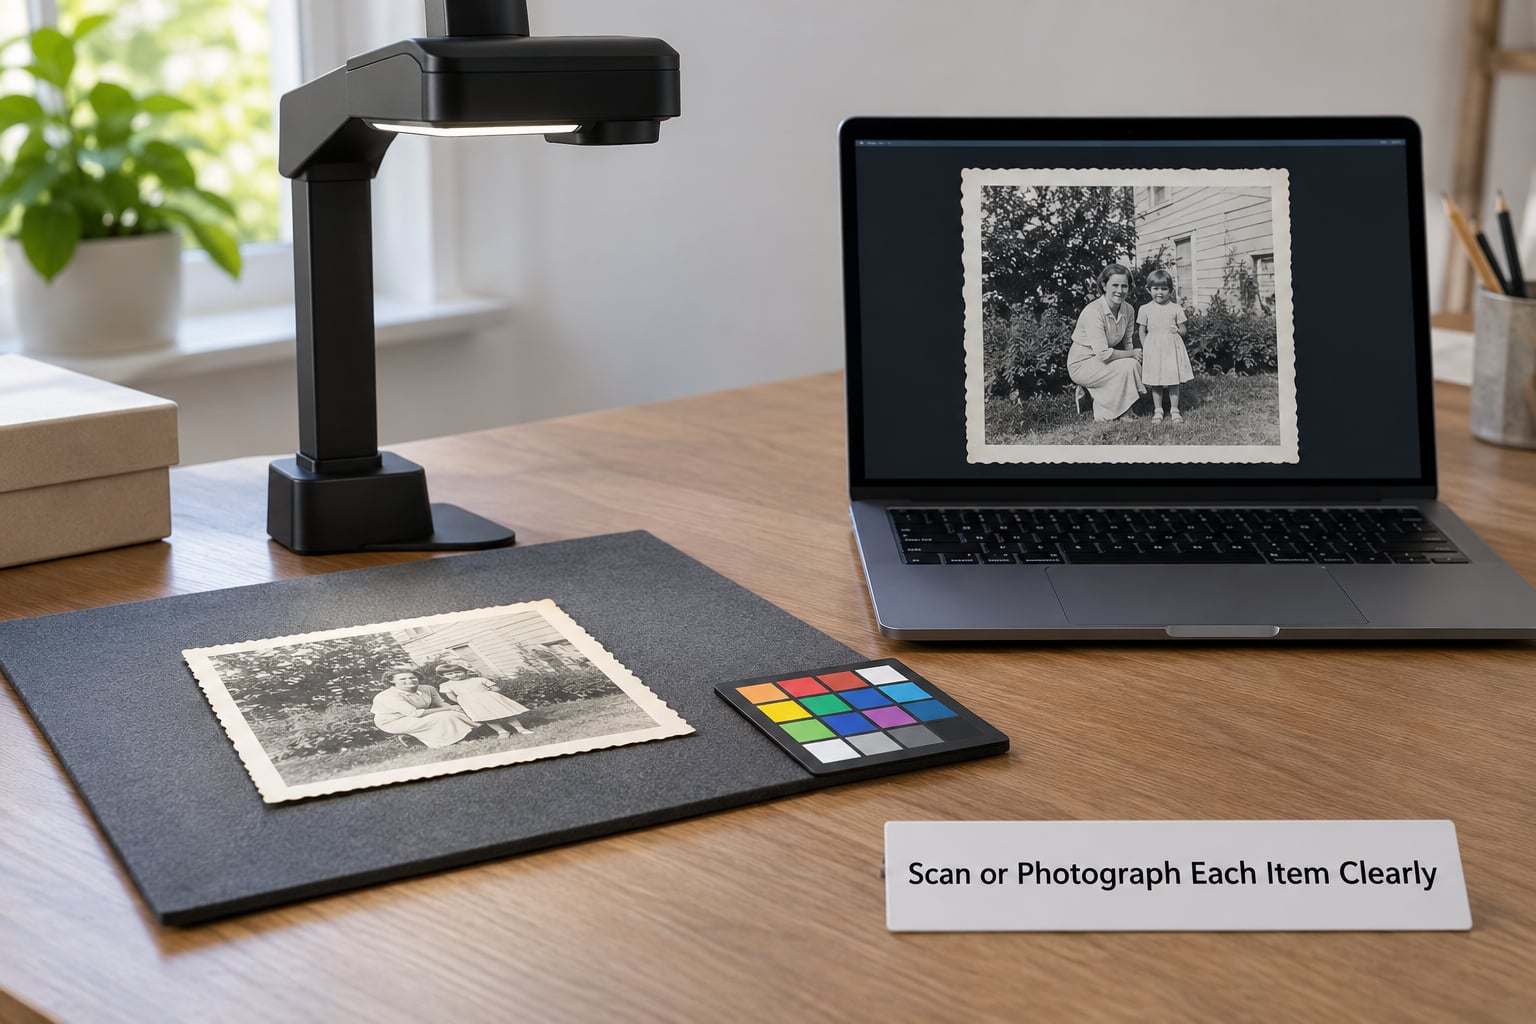
Scan prints and documents at 300 to 400 dpi for viewing purposes, and at 600 dpi when the item is small, fine-lined or might ever be reprinted. Tiny formats such as daguerreotypes and ambrotypes benefit from 1200 dpi because there is so little image to begin with.
Scan in color even for black-and-white material, since it costs nothing and keeps any tone you may want later. Save the master as TIFF for images and PDF/A for multi-page documents. These are the preservation files. Make a smaller JPEG copy for everyday sharing and leave the master untouched.
Include a gray or color target card in the first scan of each session so future you can correct color accurately. Name files with a consistent pattern, for example 1927-06-14_Reinhart-family_reunion_scan01.tif. That naming scheme means you can sort chronologically without opening anything.
Check every scan before you file it: in focus, no glare, no cropped edges, color that looks right, and the whole item inside the frame. Two minutes of checking per item is cheaper than rescanning a whole box later.
Photograph originals instead of scanning when they are too fragile, too thick, or mounted in glass. Shoot straight down, in even light, with no flash, and keep the original on its support mat.
5. Organize and Back Up the Digital Copies
Apply the 3-2-1 rule: three copies, on two kinds of media, with one copy off-site. A working folder on your computer, a copy on an external drive stored in a different room, and a copy in off-site or cloud storage meets it.
Cloud alone is not enough, because accounts get closed and files get changed. Check that your sync service is actually creating versions rather than mirroring edits over the top of your originals.
Run an integrity check every year or two. Open a random handful of files and confirm they still open and still look right. Cheap drives fail quietly, and discovering ten years of failed backups during a hard-drive replacement is a bad afternoon.
Once verified, the digital copies carry the everyday use. That is the point of digitizing: the originals rest in the box, and the family looks at screens.
6. Store the Collection Safely
Aim for a stable environment rather than a perfect one. Somewhere around 60 to 70 degrees Fahrenheit with relative humidity between 30 and 60 percent is fine. Swings matter more than the exact number, so avoid rooms that swing widely.
An interior closet on an upper floor usually works better than a basement or attic. Keep boxes off the floor, away from exterior walls, radiators, plumbing, kitchen steam, and any shared wall with a bathroom or laundry.
For light, darkness wins. No direct sunlight, and no display for extended periods under glass or acrylic. For display, use UV-filtering acrylic and a mat with a window opening so nothing rests flat against the image.
Watch for pests. Look for webbing, small holes, frass, or a musty smell. Silverfish and carpet beetles both prefer paper that has been sitting undisturbed in a warm room.
If a box sits in water or a flood, freeze it if you can within a few hours and keep it frozen while you arrange a conservator. Do not dry wet paper with heat, a hair dryer or a fan; that locks in tidelines and staining.
Add a small digital hygrometer or temperature logger inside the closet so you are reading numbers rather than guessing. Watch them after a storm or a plumbing repair.
7. Create a Record for Future Family Members
Preserving old family documents and photos is half physical work and half documentation. Write down who each person is, how they relate to you, where the box lives, and what the filenames mean. Provenance, the record of where a document came from, is often what makes an ordinary clipping valuable later.
Mark uncertain dates as uncertain. A note reading “probably around 1927, based on the handwriting and the address” is far more useful than a blank space or a confident guess.
For sensitive material, decide who can see it before you share scans widely. Some family letters contain things the people who wrote them never meant to outlive the century.
Recording the voice of a relative describing a photograph is quick and adds context no scan can hold. A phone recording takes five minutes and becomes part of the archive.
Common Mistakes
Nearly all avoidable archive damage comes from one of these:
- Tape, glue, or self-adhesive tabs. They yellow, bleed into the paper, and are impossible to remove cleanly. Instead, support a tear with a polyester sleeve or interleaved buffered paper, or have a conservator mend it.
- Paper clips and rubber bands. Metal rusts and leaves stains; rubber bands shrink and embrittle the paper. Replace with lignin-free paper bands or a folder.
- Lamination. Lamination is permanent, seals in acid, and traps moisture. It also blocks any future professional treatment. Never laminate an original.
- Household cleaners and DIY powders. Bleach, starch, and cornstarch all look appealing and all damage paper. There is no safe home recipe for washing old documents.
- Plastic wrap and zip bags. Wrapping seals in moisture, and ordinary bags off-gas over time. Use polyester sleeves or polypropylene bins for temporary protection, never wrapping for storage.
- Overfilled albums and boxes. Pressure causes bowing, tears and mold in the middle of the stack. Fill to about two-thirds and add spacers.
- Attics and basements. Heat, condensation, pests and leaks. If those are the only options, keep items in sealed archival boxes inside a room, and check them twice a year.
- Magnetic clips and pressure-sensitive tape on photos. These stain and stick. Use polyester corners or a mounted mat instead.
Maintenance is short once the boxes are right. Open one box a year, check for mold and pests, and refresh the pencil labels as the inventory grows.
Frequently Asked Questions
How do I know whether an old family document needs a professional conservator?
Send it to a conservator when the paper is actively crumbling, torn through a printed area, stuck to another sheet, covered in mold, or covered in writing or ink that is fading and bleeding. Photographs with a cracked or peeling emulsion, bent corners, or silver mirroring also belong in that group. A conservator can also advise before you do anything permanent to an item you suspect is valuable. Most simple rehousing and scanning work is well within safe DIY limits.
Should I remove staples, paper clips, or tape from old family papers?
Old steel staples and paper clips can rust and stain paper, so removing them is usually wise. Work slowly with a small screwdriver, support the document underneath, and never force anything. Adhesive tape is different. It is permanent and pulling it off takes fibers with it. Do not touch tape yourself. Put taped documents in a separate box and let a conservator decide whether removal is safe.
What is the best way to store old photographs without fading?
Keep photographs in the dark, in polyester sleeves that have passed the Photographic Activity Test, inside acid-free folders stored in an archival box. Avoid heat, direct sunlight, humidity above about 60 percent, and any pressure on the image surface. For display, use UV-filtering acrylic and a mat window so the print never touches the glazing. Display copies are fine; originals live in the box.
How can I tell whether a document or photograph is historically valuable?
Value usually comes from context rather than appearance: who wrote it, what it records, and whether it is unique. Look for signatures, dates, place names, notarizations, stamps, unusual handwriting, or a connection to a documented event. For early photographs, the format matters, since tintypes, ambrotypes and daguerreotypes predate most paper prints. An appraisal is a specialist step, and it costs real money, so start with research and only pay for an opinion if the item seems genuinely significant.
Should I laminate or frame old family documents?
Do not laminate. It seals acid and moisture into the paper, blocks any future treatment, and cannot be undone. For framing, place the document in an acid-free mat with a window opening larger than the item, back it with buffered paper, and use UV-filtering acrylic or a mat covered with polyester film. Avoid pressure-sensitive tape and avoid hanging originals in direct sun. A facsimile or a good scan can carry the display burden instead.
What should I do if old photos or papers have mold or water damage?
Isolate the affected items from the rest of the collection immediately, in a sealed bag or box, because mold spores spread. Do not brush, wash, or dry them with heat or a fan. If papers are wet and you cannot reach a conservator within hours, freeze them and keep them frozen. Moldy photographic material needs professional treatment before handling, because handling wet or bloomed prints can destroy what remains of the image.
Start With the Most Fragile Item
Do not start by scanning. Start by finding the most vulnerable originals in your collection, usually 19th-century documents, newspaper clippings, and any photograph with a fading image, then get those into proper acid-free storage in a cool, dark closet. Storage first, because it protects everything, including the items you have not looked at yet.
Then make the first careful digital copy of what matters most to your family, name it well, and put it in two more places. After that, work through the rest at whatever pace your weekends allow. Doing something reasonable beats doing nothing, and doing it now beats doing it perfectly in two years.