Yes, you can compost in an apartment. A countertop bin or a worm tumbler takes up about the space of a mixing bowl, runs cool indoors, and can be kept odor-free with three habits: bury fresh scraps in brown material, keep the pile as damp as a wrung-out sponge, and stir it every few days. Plan on two minutes of attention two or three times a week.
The word composting scares people because they picture a steaming pile in a yard. Apartment composting is slower, smaller, and much easier to control. Five methods actually work indoors:
- Worm bin (vermicomposting) — red wigglers eat your scraps and turn them into castings. You feed them plant material only and harvest fine, dark compost after a few months.
- Countertop bin — a small lidded container of brown material where you bury kitchen scraps. It needs no worms and no power, but it takes longer and can sour if you overfill it.
- Bokashi bucket — sealed fermentation with bran that handles cooked food and small amounts of meat or dairy. The output must go into soil before it becomes compost.
- Freezer and drop-off — you store sealed scraps frozen until a weekly collection point. It costs nothing but it produces no compost at all.
- Balcony bin or tumbler — a small outdoor setup if your building allows it, which speeds things up and gives worms more room.
This guide covers the two indoor systems in detail, because the smell objection is really a technique problem, not a system problem. A healthy worm bin does not smell. When one does, it has almost always been overfed or kept too wet.
Table of Contents
- What You Need
- Step-by-Step
- How to Compost in an Apartment: Choose the Right Location
- 1. Choose an Apartment-Friendly Composting System
- 2. Prepare the Bin with a Balanced Carbon-to-Nitrogen Base
- 3. Add Food Scraps in Small Batches
- 4. Adjust Moisture and Aeration
- 5. Keep Fruit Flies and Other Pests Out
- 6. Tell When the Compost Is Ready to Use
- 7. Maintain a Small, Regular Routine
- Common Mistakes
- Frequently Asked Questions
- Does apartment compost smell bad?
- Can I use worm composting in a small apartment?
- What foods should not go in an apartment compost bin?
- How do I compost while I am away for several weeks?
- Where can I put finished compost from an apartment bin?
- Conclusion
What You Need
A worm tumbler is a nesting pair of shallow plastic or insulated containers with holes in the lid and sides. One pound of red wigglers comes with most starter kits, and bedding is shredded newspaper or plain uncoated cardboard. Budget roughly the cost of a couple of takeout meals to start, plus about a square foot of counter or under-sink space.
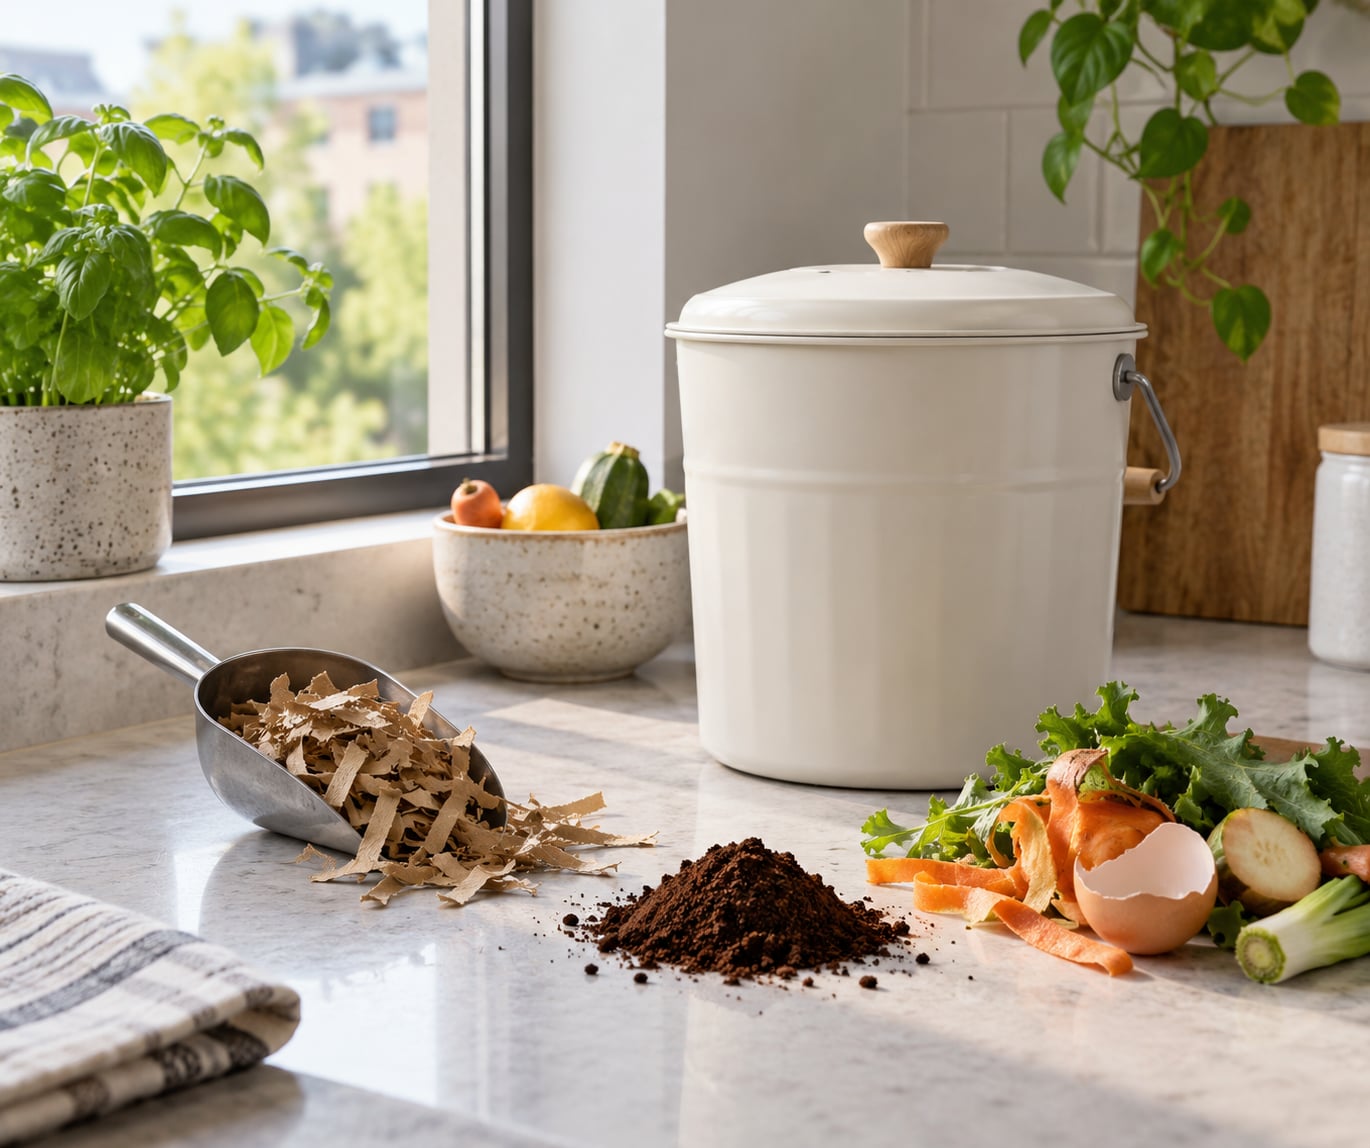
A countertop bin is cheaper and simpler: a lidded container roughly one gallon in size, a bag of shredded cardboard or dry leaves, and a scoop. Nothing lives in it. You control the chemistry by burying and covering each addition.
Choose based on how much attention you actually want to give. If you travel often or forget things for days, start with a countertop bin. If you cook daily and want a finished soil amendment rather than a slow pile, the worm tumbler pays you back faster and stays cool at room temperature, which suits a heated apartment better than a hot attic.
This table is the fastest way to narrow it down.
| Method | Space needed | Effort | Odor risk | Can process | Usable output |
|---|---|---|---|---|---|
| Worm bin | About one square foot | Feeding every 1 to 2 days | Low when balanced | Plant scraps, coffee grounds, eggshells | Castings in 3 to 6 months |
| Countertop bin | One gallon or less | Bury each addition | Low to moderate | Plant scraps, coffee grounds | Slow, 6 months or more |
| Bokashi | One to three buckets | Sprinkle bran, seal, drain | Fermented, sharp aroma | Cooked food, small meat or dairy | Pre-compost, must be buried in soil |
| Freezer and drop-off | Freezer shelf | Very low between drop-offs | None if sealed | Anything the site accepts | None, waste leaves your unit |
| Balcony bin | 2 to 3 square feet | Turning every 1 to 2 weeks | Moderate in heat | Greens and browns, some paper | Finished compost in 2 to 4 months |
Step-by-Step
How to Compost in an Apartment: Choose the Right Location
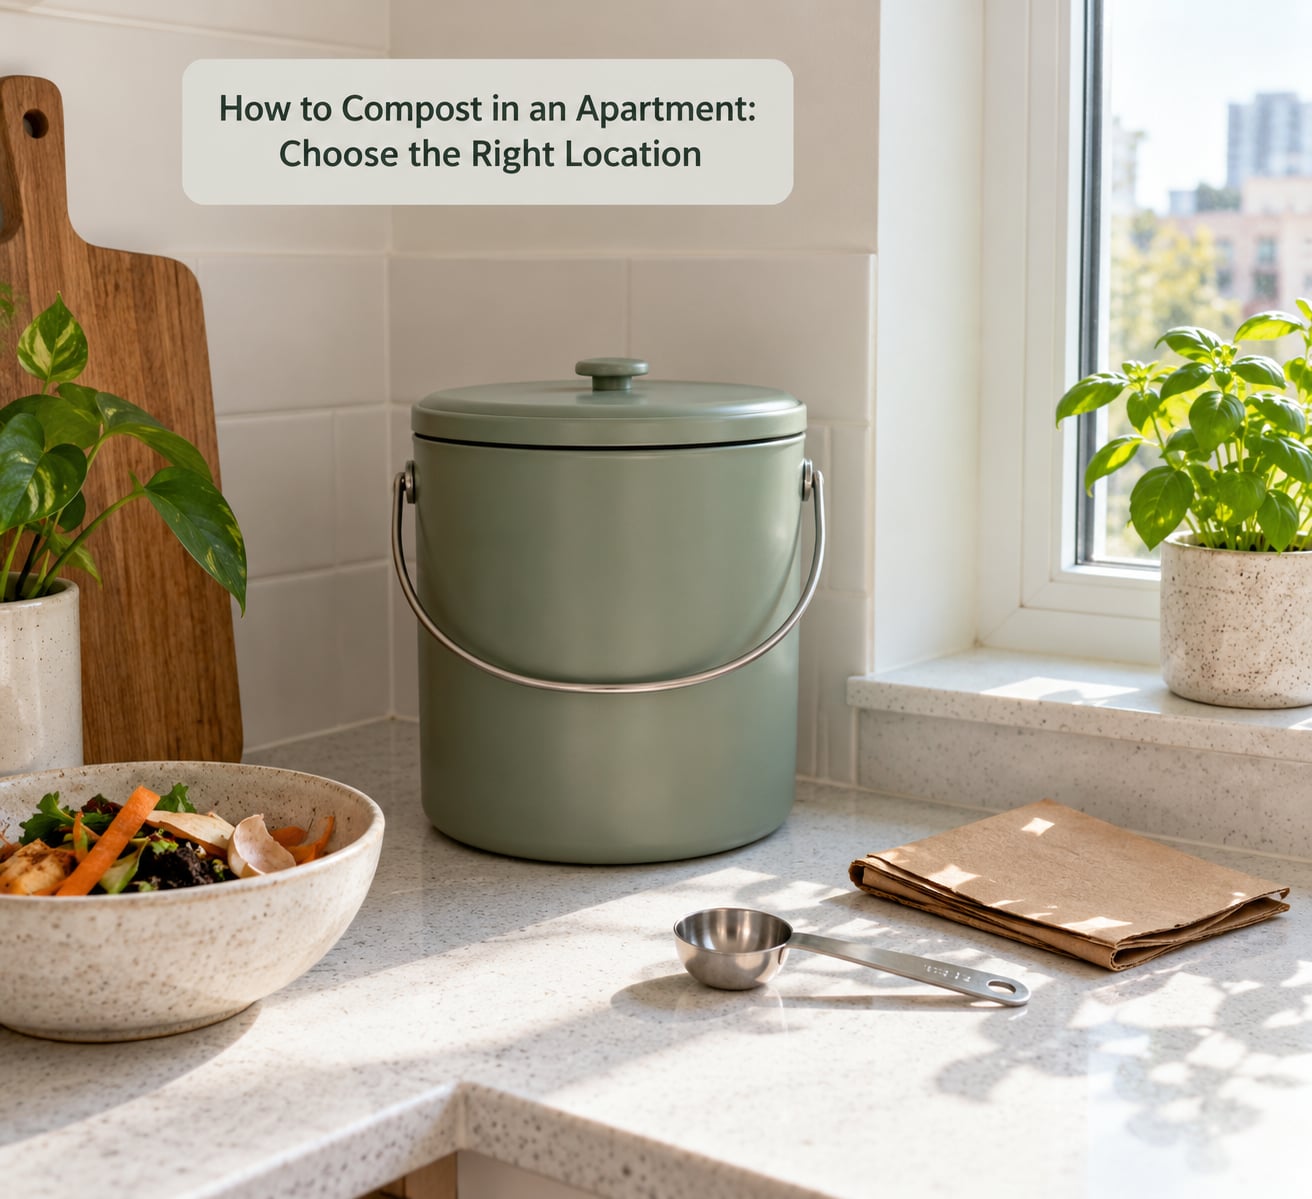
Pick a spot away from direct sun, radiators, ovens, and the sink splash zone. Heat and moisture from cooking speed decomposition and invite fruit flies, while a sunny windowsill dries the pile out in a day.
Under the sink or a pantry corner works well as long as you can reach it a few times a week without moving furniture. Avoid the space right next to your bed, and tell a roommate before you set it up rather than after they mention the smell.
How to tell it worked: the container sits level, nothing hits the cabinet above it, and you can open the lid without leaning over the food-prep area.
1. Choose an Apartment-Friendly Composting System
The countertop bin is the easier start because there is nothing to keep alive. Add food, bury it, forget it. The worm tumbler asks more of you at the beginning but produces finer material in less time, and it is the only indoor option that gives you real castings.
Skip the electric food recycler if you are on a tight budget or in a small unit. It grinds and heats scraps into a sludge that still has to go somewhere, and it takes counter space and a power outlet. Buy one only if the smell-free, zero-effort handling matters more to you than the output.
How to tell it worked: you chose a system you will still be using in eight weeks, not the one that looked best in a video.
2. Prepare the Bin with a Balanced Carbon-to-Nitrogen Base
Fill the bin two-thirds full with dry brown material: shredded cardboard, uncoated paper, or dry leaves. Torn brown paper bags work; skip glossy or coated paper, and avoid pine needles, which are acidic and slow.
Add water and mix until the material feels like a wrung-out sponge. Squeeze a handful and only a drop or two should come out. That is the moisture target you return to for the life of the bin, and it is the single biggest factor in whether odor shows up.
For a worm bin, add a thin layer of grit or crushed eggshell on the bottom so grit does not jam the drainage holes.
How to tell it worked: the bedding is evenly damp throughout, not dry on top and soaked below, and the worms settle into it within a day or two instead of clustering on the walls.
3. Add Food Scraps in Small Batches
Chop scraps into pieces about the size of a fingernail so more surface area is available to microbes and worms. Then bury each addition in the middle of the brown material rather than piling it on top.
Plant-based scraps, coffee grounds, and crushed eggshells are the reliable list. Small amounts of citrus, onion, and garlic are fine in moderation. Keep out meat, fish, dairy, oils, cooked rice and pasta, and pet waste in any indoor worm bin, since those attract pests and smell far faster than most people expect.
Over a week, aim for scraps roughly equal in volume to the brown material you add back. That balance is the first rule of composting: greens for nitrogen, browns for carbon, and you can measure it with a kitchen scoop instead of a formula.
How to tell it worked: what you add disappears within a few days, and opening the bin brings an earthy, forest-floor smell rather than anything sour.
4. Adjust Moisture and Aeration
Dry compost stalls, and wet compost goes anaerobic and stinks. That is the whole troubleshooting ladder. If material looks pale, loose, and crumbly, add browns and a small measured splash of water, then stir.
If it looks dark, heavy, and slimy, add dry shredded cardboard and dry leaves by the handful and stir from the bottom. Stirring twice a week pushes oxygen into the middle, where scraps hide and decompose fastest. Worms do the same work for you by moving through the pile, which is why a worm bin needs less turning.
How to tell it worked: the pile holds together when squeezed and still breaks apart with a light touch, and it no longer slumps into a puddle.
5. Keep Fruit Flies and Other Pests Out
Fruit flies are attracted to the smell of fermenting fruit, not to the worms. Bury scraps deep, close the lid, and wipe the rim and any spilled bits off the counter each time you feed. Coffee grounds spread over the surface help mask scent and dry the top layer.
Ants show up when there is a sugary mess or an open container, so seal the lid and clean the outside of the bin. If you see ants anyway, move the bin outside if you have a balcony, or add a layer of browns over the food until the source is covered.
People reach for lemon, vinegar, or soap sprays. Those mask odor on the surface and make things worse by shifting the balance. Fix the cause instead: less food, more burrowing, more carbon.
How to tell it worked: two weeks with no flies near the counter and no visible ants on the counter or cabinets.
6. Tell When the Compost Is Ready to Use
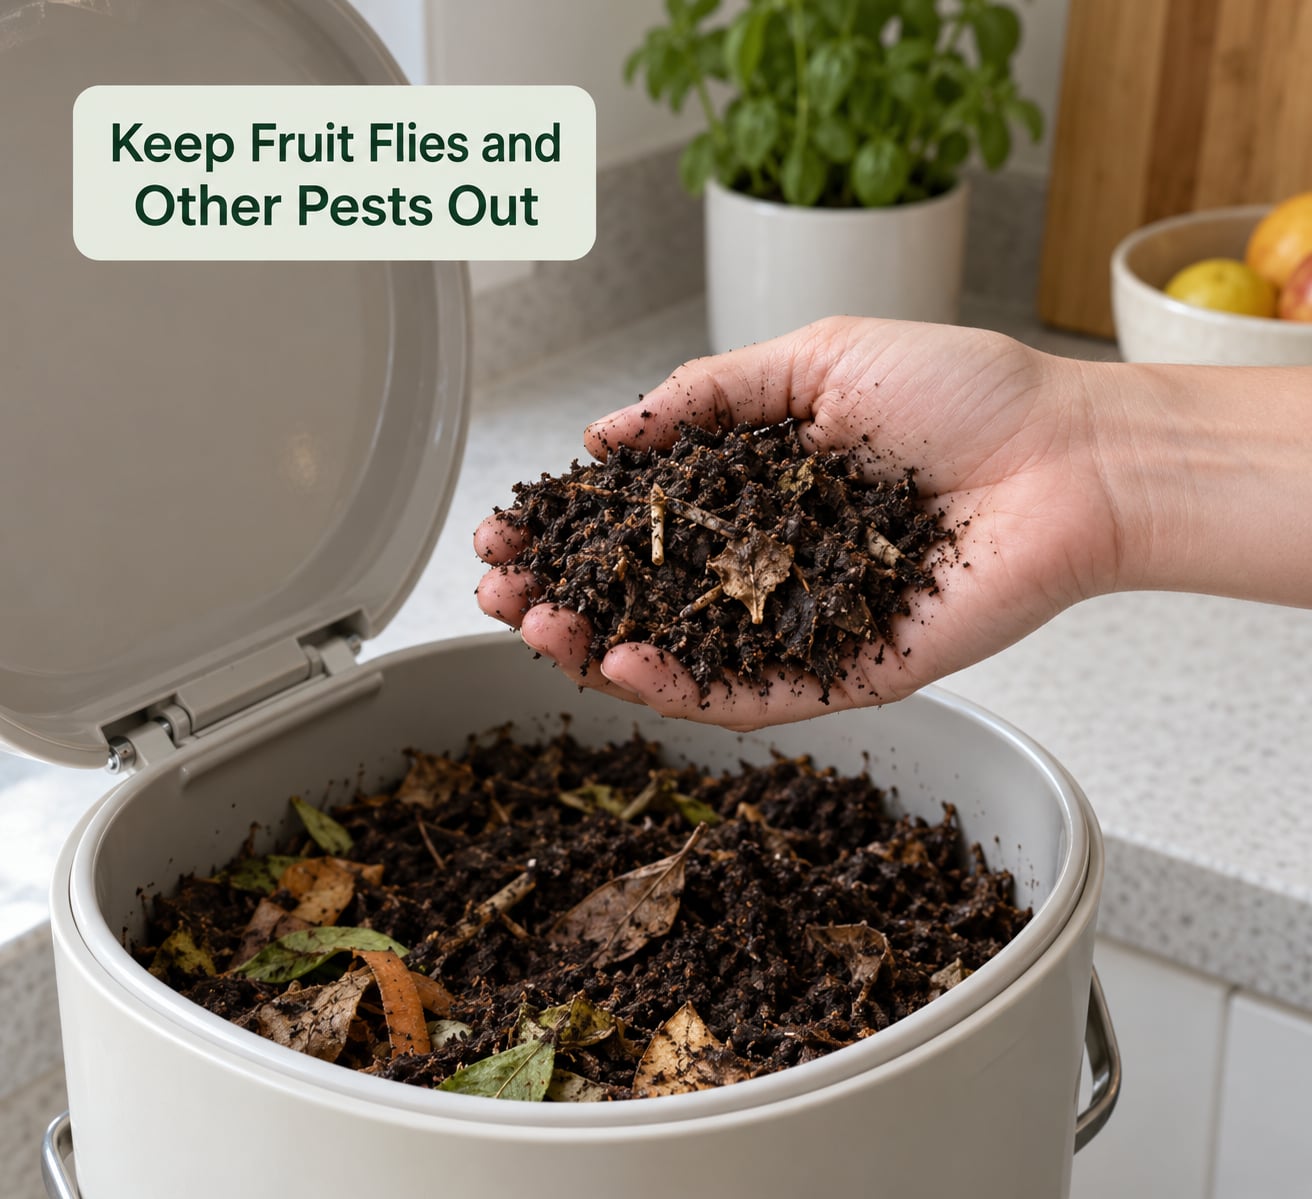
Finished compost is dark, crumbly, and smells like soil. You should still be able to recognize leaf veins and coffee grounds in it, which is normal and a sign the material broke down rather than disappeared. Turned fully to uniform powder, it has gone too far and lost nutrients.
A worm bin usually gives usable castings in three to six months for a one- or two-person household. A countertop bin without worms takes longer, often six months or more, and only if you keep adding fresh material to feed it.
Spread finished compost a centimeter or two over potting mix when repotting houseplants, or mix it into balcony container soil. It is a soil amendment, not food. Do not use it for edible crops grown indoors, and wash hands after handling, especially if pet waste or meat ever entered the bin.
How to tell it worked: a handful squeezes without dripping, holds its shape loosely, and smells clean the moment you open the lid.
7. Maintain a Small, Regular Routine
Two minutes, two or three times a week: check moisture, bury any exposed scraps, stir the surface, and wipe the outside of the container. That is the whole job for most weeks.
Travel needs a different plan than steady maintenance. Stop feeding for a week, bury everything, double the browns on top, and close the lid. A full worm bin survives two to three weeks sealed in a cool cupboard. For longer absences, ask a neighbor to feed it or freeze scraps for drop-off when you return. If the bin is overflowing, harvest the bottom layer even if the top is unfinished, then refill with fresh bedding.
How to tell it worked: you can leave for ten days and come back to a bin that still smells like earth.
Common Mistakes
- A bin that is open or covered loosely. Fruit flies and odors are a lid problem first. Use a lid with a gasket, or accept that you are feeding pests.
- Too many wet scraps at once. A fridge full of produce dumped in on Monday will sour by Wednesday. Add a few pieces a day and bury each one.
- Adding one enormous batch. Composting is a steady process, not an event. Small frequent additions break down faster and smell less.
- Ignoring the do-not-compost list. Meat, dairy, oil, and pet waste in an indoor worm bin are the fastest route to a foul, pest-ridden bin.
- Letting it dry out. A pale, dusty bin smells worse than a wet one, because the food stops breaking down. Add water and browns together.
- Overcrowding the worms. More feed is not a favor. A waterlogged, overfed worm bin can take weeks to recover, and the fix is always less food and more bedding.
- Skipping building rules. Check your lease and any HOA or co-op rules before putting anything outside. Many buildings ban food waste near dumpsters because of pests, not smell.
In a shared apartment, tell people before you start and keep the bin clean. A bin that smells fine when you open it can carry an odor into the hallway, so wipe surfaces and take the finished compost to a garden or a neighbor rather than leaving it sealed in the hall closet.
Frequently Asked Questions
Does apartment compost smell bad?
A healthy bin does not smell like much more than earth or a forest floor. Sour, sweetish, or rotten odors mean something specific went wrong, usually too much food, too much water, or too little brown material. Reduce feeding, add dry shredded cardboard, and stir from the bottom. Skip lemon sprays and deodorizers, which mask the surface smell and make the balance worse.
Can I use worm composting in a small apartment?
Yes. A worm bin needs about one square foot and works at room temperature, so a heated studio or one-bedroom is suitable. Start with one pound of red wigglers in a shallow nesting bin with shredded cardboard bedding. Keep it under the sink or in a corner away from the stove, and expect your first usable castings in three to six months for a household of one or two.
What foods should not go in an apartment compost bin?
Keep out meat, fish, dairy, cooking oils, and pet waste, especially in a worm bin, because they attract pests and turn odors fast. Also skip glossy or coated paper, and treat cooked rice, pasta, and bread as optional rather than routine. Fruit and vegetable scraps, coffee grounds, crushed eggshells, tea leaves, and uncoated cardboard are the dependable list.
How do I compost while I am away for several weeks?
Stop feeding a week before you leave, bury everything, add a thick layer of browns on top, and seal the lid. A worm bin holds for two to three weeks in a cool cupboard if someone empties the food scraps. Longer trips are easier with the freezer method: store sealed scraps and drop them at a weekly collection point, accepting that you get no compost from them.
Where can I put finished compost from an apartment bin?
Mix a thin layer into potting mix when you repot houseplants, or work it into balcony planter soil. If you have no plants at all, a community garden or a neighbor with a garden will usually take it gladly, since finished compost is portable and clean. Store it in a sealed container in a cool spot, and use it within a year or so for best results.
Conclusion
Pick the system that matches your attention span, not the one with the longest feature list. Set it on a stable counter away from the stove, fill it two-thirds with damp shredded cardboard, lid it properly, and add two or three scraps a day. Bury every addition. Check it twice a week, and you will have finished compost without a yard, a smell complaint, or a single fly.