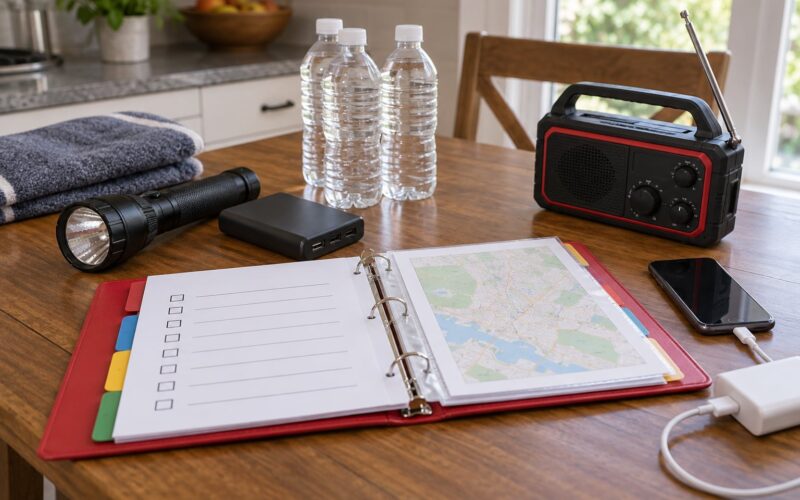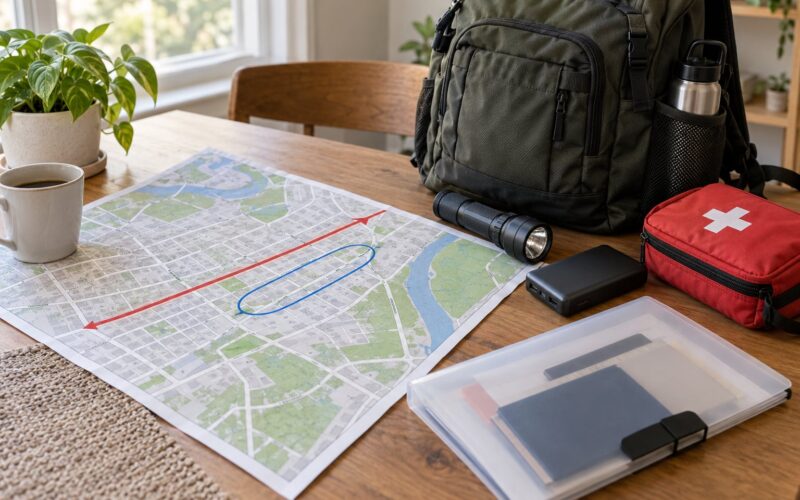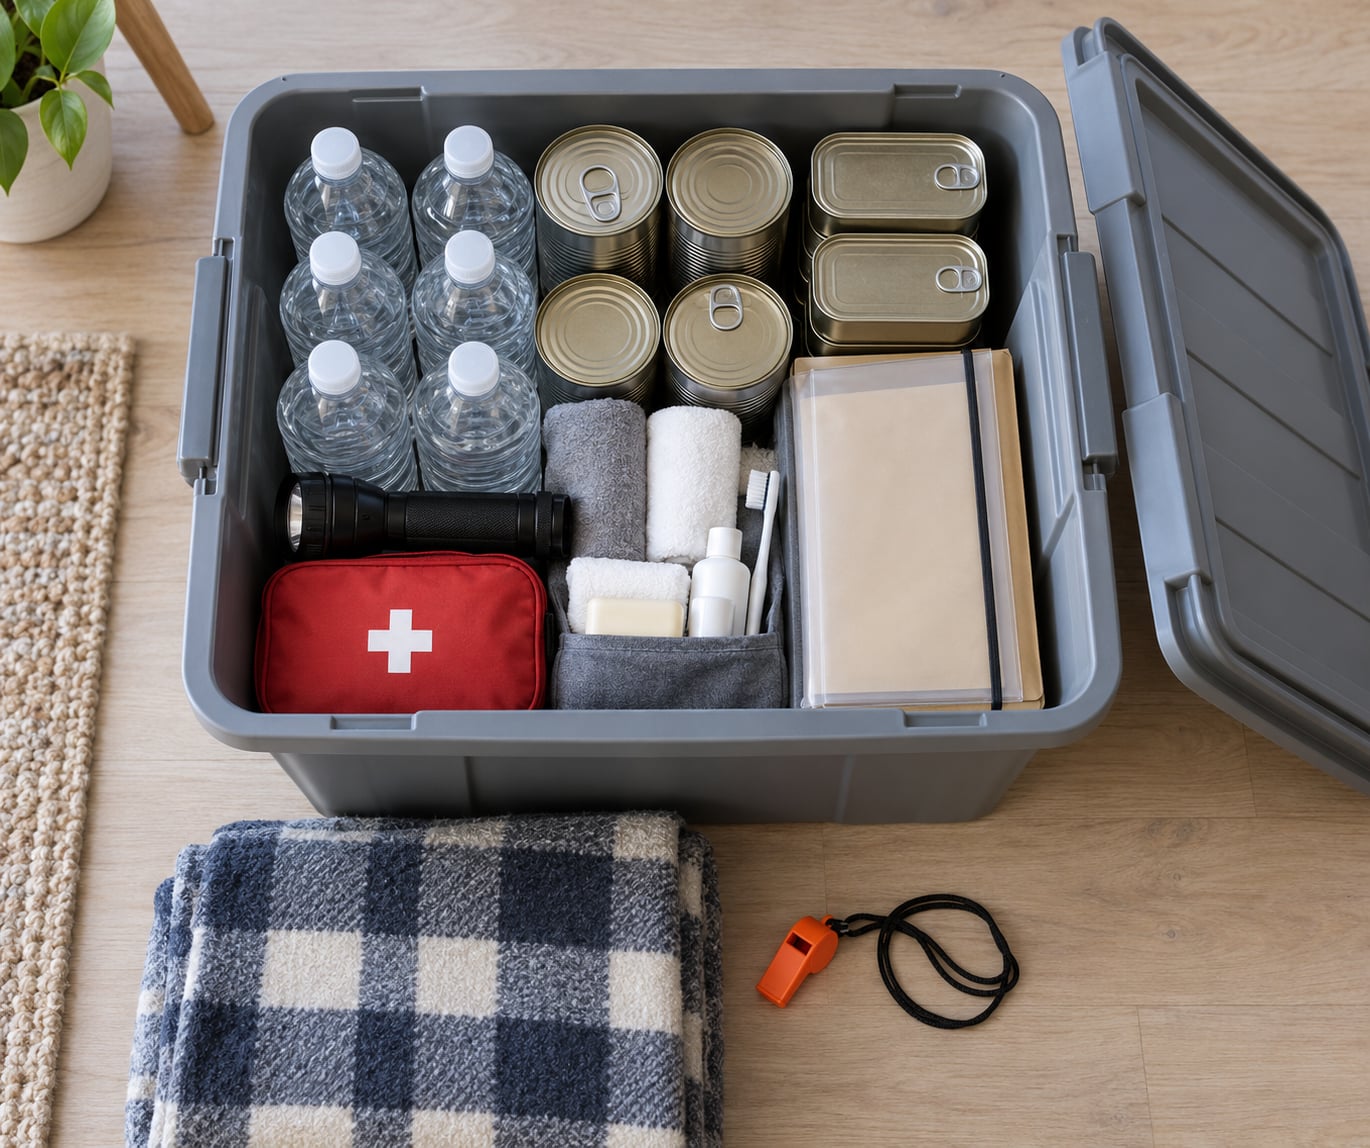
If you build a basic home emergency kit the way emergency managers suggest, it is a waterproof, clearly labeled container holding at least three days of water, shelf-stable food, first aid supplies, lighting, a way to receive weather alerts, and copies of your important documents. You put one together by choosing a container, calculating supplies per person, packing them in a fixed order, then labeling and storing the kit where you can reach it fast. Most people can finish a solid first kit in an afternoon.
The reason to do it now rather than when the alert comes is simple: stores empty fast, and the first 72 hours are the stretch when you are on your own. The guidance below follows what FEMA’s ready.gov and the American Red Cross recommend, trimmed to what a household with no prior preparedness experience actually needs.
Table of Contents
- What You Need to Build a Basic Home Emergency Kit
- Step-by-Step
- Choose the Right Container and Locations
- Pack Water, Food, and Daily-Use Supplies
- Add First-Aid, Health, and Documentation Supplies
- Include Light, Power, and Communication Tools
- How to Build a Basic Home Emergency Kit for Your Household
- Label, Store, and Check the Kit
- Common Mistakes
- Frequently Asked Questions
- How often should I replace items in a basic home emergency kit?
- How much water and food should one person keep in an emergency kit?
- Where is the safest place to store a home emergency kit?
- How can I make an emergency kit accessible for children or someone with a disability?
- Should I keep prescription medicines in my home emergency kit?
- Can I deduct the cost of emergency supplies on my taxes?
- Conclusion
What You Need to Build a Basic Home Emergency Kit
A basic kit has to do five jobs: give you safe water, give you food that needs no cooking, handle injuries, keep you informed and visible in the dark, and hold the paperwork you will otherwise be hunting for in a panicked drawer. Everything below serves one of those jobs. If an item serves none, leave it out.
These are the ten things every kit should contain:
- Water for drinking, cooking and hygiene, at the federal guideline of one gallon per person per day for at least three days.
- Food that needs no cooking, power or refrigerator for three days minimum.
- A first aid kit stocked for the people in your home, not a generic drugstore pack left half empty.
- A flashlight plus a spare set of batteries for each device that takes them.
- A battery-powered or hand-crank radio so you get alerts when cell towers and the internet are down.
- A whistle for signaling rescuers, which carries far further than shouting.
- Extra clothing and shoes suited to your local weather, including one warm layer per person.
- Hygiene and sanitation supplies, such as hand sanitizer, wet wipes, toilet paper, garbage bags and feminine hygiene products.
- Copies of important documents in a waterproof sleeve, plus a written list of medications, allergies and emergency contacts.
- Cash in small bills and a spare house key, since card readers and cash machines fail early in an outage.
Some of these are reusable and stay until you use them. The rest are perishable and have dates on them, which is why the maintenance routine at the end of this guide matters more than most people expect.
If someone in your household has a medical condition, a mobility need, a dietary restriction, or uses equipment that needs power, adjust the list with your doctor, pharmacist, or occupational therapist. The standard list is a starting point, not a substitute for advice specific to your family.
Step-by-Step
Work through this in order. Packing in sequence keeps you from ending up with a lid that does not close because you put the flashlight in last.
Choose the Right Container and Locations
A lidded plastic tote is the workhorse. Pick one that is durable, easy to carry by one adult, and small enough that it does not eat a closet. If your hazards include flooding or heavy rain, use a gasketed waterproof bin with latches rather than a snap-lid tote that is really just a lid.
A backpack works well when the kit may need to travel with a person rather than sit in a house. A second, smaller option is to split supplies across two containers: a carryable pack for evacuation and a larger bin at home for a two-week stay.
Store it near an exit, on a wall or a high shelf, not in a locked safe. You will tell it worked the first time you can reach the lid in under a minute without moving furniture.
Pack Water, Food, and Daily-Use Supplies
Do the water math first, because it drives the size of everything else. One gallon per person per day times three days gives a three-person household a nine-gallon starting point, and pets count too. People with a medical need for extra hydration need more, as do anyone who will be doing physical work all day.
Store water in factory-sealed bottles or in clean containers you have sanitized, filled and capped yourself. Never store it in a car or an unsheltered garage in a hot climate. Heat degrades plastic bottles and leaks them, and the last thing you need is a soaked kit. Rotate your own containers every six months; the water is not the problem, the container is.
For food, pack items that open without a can opener if you can find them, plus a manual can opener regardless. Good candidates are ready-to-eat meals, protein bars, nut and seed packs, dried fruit, shelf-stable milk, jerky, crackers and electrolyte packets. Skip anything needing a refrigerator and anything that will make you draw lots of water to prepare.
Add eating utensils that are not made of glass, a pot or collapsible container if you can boil water, a small amount of fuel or a solid fuel tablet for a camp stove, and matches stored in a waterproof case. Then add hand sanitizer, wet wipes, toilet paper, a bucket or container for portable sanitation, and garbage bags.
Add First-Aid, Health, and Documentation Supplies
Start the first aid section with the basics: adhesive bandages in several sizes, gauze pads, medical tape, elastic wraps, scissors, tweezers, disposable gloves, antiseptic wipes or a bottle of antiseptic solution, a digital thermometer, and a small supply of over-the-counter pain relief, antidiarrheal medicine and antihistamines appropriate to your family.
Then add what most household kits are missing. Bleeding control matters more than people expect, because severe bleeding is the kind of problem that is survivable in the first fifteen minutes. Include a pressure dressing or a tourniquet, and learn to use whichever one you bought before you need it.
Put your documents in a waterproof sleeve: a copy of your ID, insurance details, a deed or lease, your medication list with doses, allergy list, emergency contacts, and a spare house key. Keep paper copies, because a phone that is dead, wet or locked does not help.
A kit is not a pharmacy. Keep prescription medicines in their normal storage and ask your pharmacist how to handle them during an outage or a fridge failure, including whether a cooler with ice packs is enough for a specific drug.
Include Light, Power, and Communication Tools
One flashlight per person beats one bright flashlight for a family. A headlamp is worth the extra weight if hands are needed to open cans, hold a child or change a tire. Include spare batteries stored separately from the devices.
That last point matters more than it sounds. Batteries left sitting inside a flashlight for years can leak and destroy the contacts, and a ruined flashlight discovered during an outage is the same as no flashlight. Test each light, radio and hand-crank charger, then check them again at your six-month review.
Include a whistle per adult, a simple multi-tool, a battery or hand-powered radio, a charged power bank for phones, and a car charger if the kit travels in a vehicle. Skip solar chargers with no storage; they are useless at night. Any charging device you rely on should be one you have verified working, not one you read about.
Write down a communication plan, too: who calls whom first, a secondary contact outside your area, and the meeting point if cell service drops.
How to Build a Basic Home Emergency Kit for Your Household
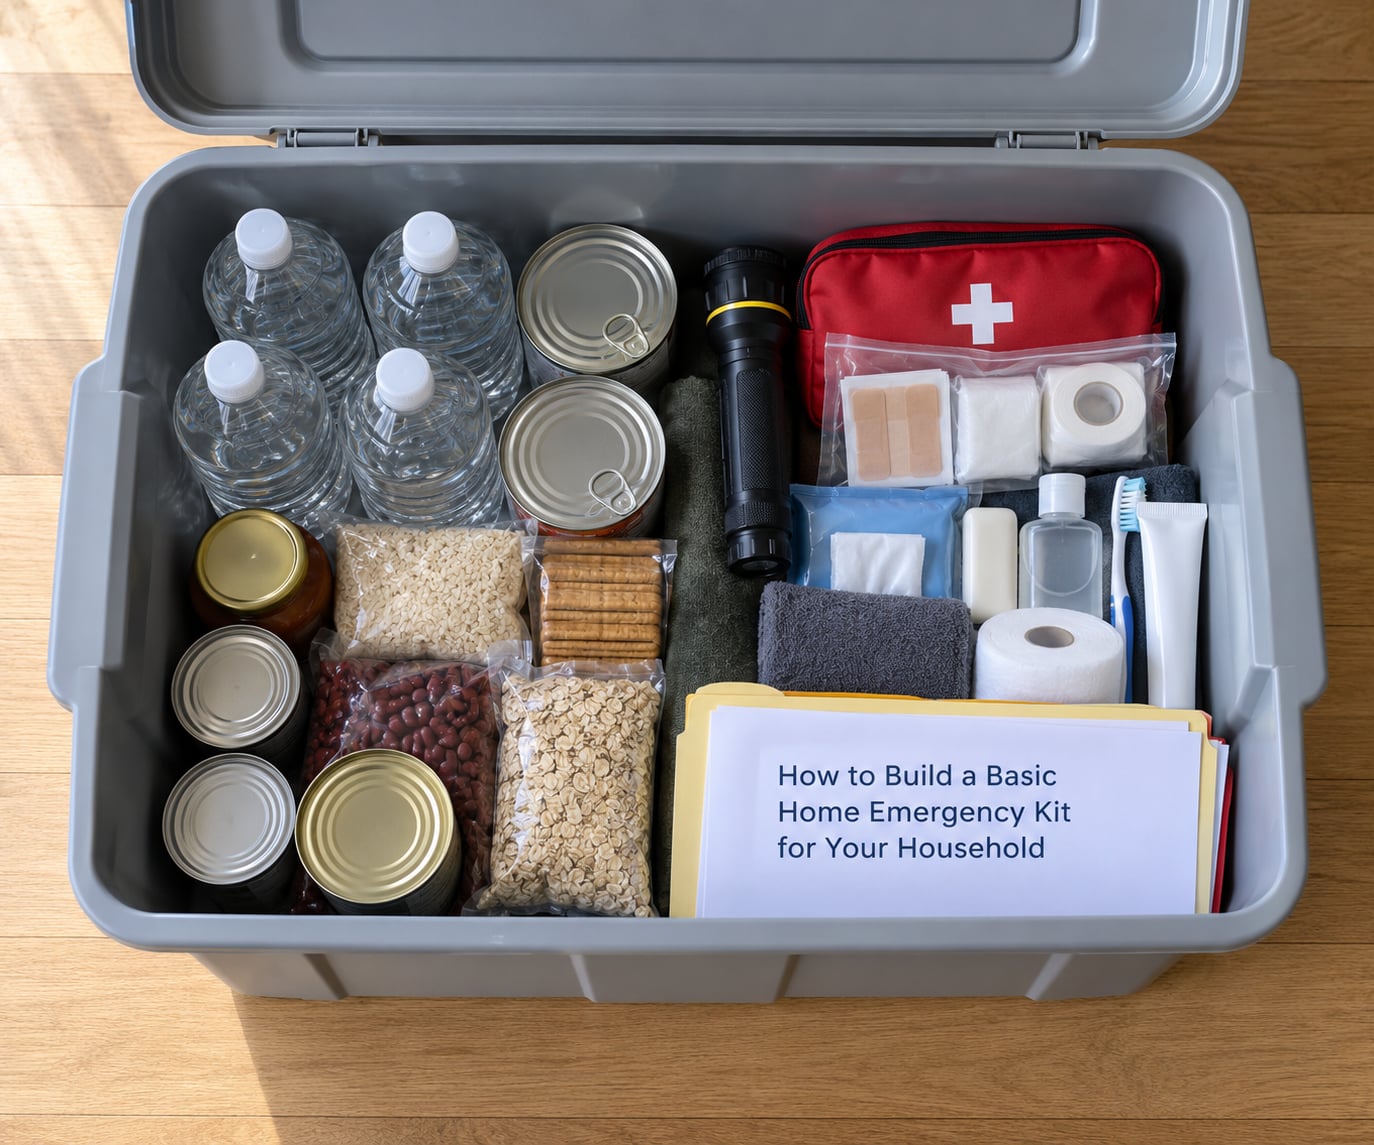
The standard list assumes a healthy adult who can carry 20 pounds. Most households need adjustments, and those adjustments take ten minutes to write onto your checklist.
Infants and small children: formula that needs no water beyond what is in the kit, ready-to-feed pouches, bottles, a small feeding supply, diapers sized for your child’s weight, wipes, a change of clothes and a favorite comfort item.
Older adults living alone: a larger share of medication, a list of conditions, a spare key for a neighbor, a battery-powered blood pressure monitor if that is part of their routine, and a loud whistle. If refrigeration fails and a drug is temperature-sensitive, know where the nearest facility that can store it is.
People with disabilities: the exact backup for power-dependent equipment. That means extra batteries for a wheelchair, a manual backup option, a written list of accommodations to give rescuers, and a communication aid that works without a phone.
Pets: the same number of days of food and water as the pet normally eats, carriers, a leash, waste bags, and any medication. A veterinarian is the right person for dosing questions, and human pain medication is not for pets.
Renters and apartment dwellers: you can build an entire kit in a closet or under a bed. The constraint is weight, not volume. A backpack per adult and a shared bin holding the water and first aid works, and many building managers will hold resident documents if you ask.
Hazard adjustment: extreme heat shifts the mix toward water and electrolytes; winter storms toward warm layers, hand warmers and a blanket per person; wildfire toward respirator masks sized for adults and children; flood zones toward a higher storage shelf, waterproof documents, and a boat or paddle if your street floods; tornado and earthquake regions toward heavy shoes, a whistle and a headlamp. Check your county’s hazard plan, because the answer changes at the state and county level.
Verification happens at the packing table. Walk each line of your checklist, point at the item in the container, and mark it. Anything you cannot point at is not in the kit yet.
Label, Store, and Check the Kit
Label the outside with the owner’s name and phone number, the household size it covers, the packing date, and the date you will next review it. Label the inside too, since lids get separated from bins. A water-based marker fades; a paint pen or a strip of tape does not.
Give yourself two review dates, six months apart. The spring and autumn daylight saving changes are easy to remember and line up with the seasons, which matters for clothing and water.
On review day: check every expiration date and swap what is close; drain and refill water containers if you filled them yourself; test each light, radio and power device; refresh the copies of documents and phone numbers, which change more often than kits do; and note anything missing on a master shopping list.
Between reviews, take one glance a month. If someone used a bandage or ate the last protein bar, put it back on the list that same day. Most kits fail not from bad planning but from a single missing item nobody replaced.
Common Mistakes
Packing heavy, low-use gear. Multi-tools, camp stoves, fishing kits and tarps make a 25-pound pack that one adult cannot carry. The fix: pack what gets used and what gets eaten, and leave the hobbyist gear out. Minimalist kit builders consistently arrive at the same short list, and it holds up.
Skipping customization. A stock kit built for one healthy adult fails a household with an infant, a pet or a wheelchair user. The fix: write your customization list before you buy anything.
Treating stored water as drinking water indefinitely. Bottled water past its date is usually fine to drink, but containers degrade in heat. The fix: keep it in a cool, dark indoor spot, not a car or an unsheltered garage.
Storing the kit where you cannot reach it. A basement, garage or high shelf means a wet, tired person will not find it. The fix: one container at adult standing height, near an exit, with every family member knowing where it is.
Ignoring expiration dates. Batteries, first aid items, food and medications all age, and expired supplies create guilt instead of safety. The fix: the six-month review, and eating the food you are about to discard.
Relying on candles for light. Candles are a fire risk in an evacuation and burn inconsistently. The fix: flashlights and headlamps first, candles at most as a backup you light outdoors.
Using equipment you never tested. A hand-crank radio that does not crank and a flashlight with corroded contacts are decoration. The fix: test on packing day and at every review, and remove batteries from stored devices between checks.
Packing too much of the wrong thing. Four flashlights, a bag of expired energy bars and no water. The fix: use the per-person math rather than instinct, and keep a running master shopping list so restocking is a ten-minute job.
A few habits keep a kit honest. Use color-coded tape on each container so water, food, medical and gear are distinguishable in the dark. Keep a single master shopping list on the fridge. And maintain a much smaller go-bag by the door, holding water, a first aid kit, a flashlight, a whistle, cash and copies of documents, so grabbing it does not require moving a heavy bin.
Frequently Asked Questions
How often should I replace items in a basic home emergency kit?
Review the whole kit twice a year, ideally at the spring and autumn daylight saving changes. Check every expiration date, test each light, radio and hand-crank charger, and replace anything opened or used. Water in containers you filled yourself should be drained and refilled every six months, and documents and phone numbers need updating whenever they change, which is more often than most people expect.
How much water and food should one person keep in an emergency kit?
The standard federal guideline is one gallon of water per person per day for at least three days, so a three-gallon starting point per adult and child. Add what pets need and more if someone has a medical condition requiring extra hydration. Food should be at least three days of shelf-stable items per person, and most stay-at-home households do better with two weeks. Pack drinking water separately from the water used for cooking and hygiene.
Where is the safest place to store a home emergency kit?
Store it indoors, near an exit, high enough that flood water cannot reach it but low enough that an adult can get the lid open in seconds. Avoid basements in flood zones, garages in hot climates, and anywhere that requires moving furniture. In an apartment, a closet or under-bed space works. Every person in the household should know the location without asking you.
How can I make an emergency kit accessible for children or someone with a disability?
Keep the container reachable at the height the person who needs it uses, not stored behind a locked door or on a high shelf. Include a spare set of batteries or a manual backup for power-dependent equipment, plus a written list of accommodations to hand rescuers. For children, choose an age-appropriate job like checking the flashlight, which teaches the plan instead of creating fear about it.
Should I keep prescription medicines in my home emergency kit?
Keep prescription medicines in their normal storage, not in a hot vehicle or a damp bin, and keep a written list of every medication, dose, pharmacy and prescriber in the kit’s document folder. Ask your pharmacist how a specific drug should be handled during an outage or fridge failure, since some need cold storage and a cooler with ice packs may or may not be enough. The kit supports you; it does not replace the medicine.
Can I deduct the cost of emergency supplies on my taxes?
In the United States, preparedness supplies are generally personal expenses and are not deductible on federal tax returns. They do not qualify as medical or safety equipment under the standard itemized deductions. Some state disaster relief programs offer separate assistance after a federally declared disaster, but those run on their own timelines and rules. Talk to a tax professional about your own situation rather than relying on general guidance.
Conclusion
Start with one container this week. Pick a lidded tote you can carry, put in three days of water and no-cook food per person, add a flashlight, a battery-powered or hand-crank radio, a first aid kit and copies of your documents, then write the review date on the lid before you put it away.
A kit is one part of a plan, not the whole plan. Alongside the bin, know your evacuation route, pick two emergency contacts outside your area, and keep up with official local guidance from your county emergency management office and ready.gov. The kit buys your household time; the plan tells you what to do with it.