Planning an evacuation route with family comes down to a short list of decisions: two ways out of every room, a primary route, a backup route and a last-resort route, two meeting points, and one named job per person. Put it on paper in about an hour, then walk it twice a year.
That hour matters more than it looks. Fire officials talk about roughly two minutes to get out of a house fire, and the phones, power and GPS an evacuation plan depends on often fail in the exact situations the plan is for. Preparedness readers are also skeptical of guides that sell gear, so this one is free of it.
Table of Contents
- What You Need Before You Choose a Route
- How to Plan an Evacuation Route Step by Step
- Step 1: Identify the hazards and evacuation triggers
- Step 2: Map primary and backup routes
- Step 3: Decide where the family will reunite
- Step 4: Assign responsibilities and communication methods
- Step 5: Prepare for children, pets, and access needs
- Step 6: Pack, share, and practice the plan
- Common Mistakes That Break Evacuation Plans
- Frequently Asked Questions
- Which route should you use to evacuate?
- How do you create an evacuation map for your home?
- Where should families meet after an evacuation?
- Are pets usually allowed into evacuation shelters?
- What do you pack in an evacuation bag?
- How long does a family have to evacuate a house fire?
- What to Do First
What You Need Before You Choose a Route
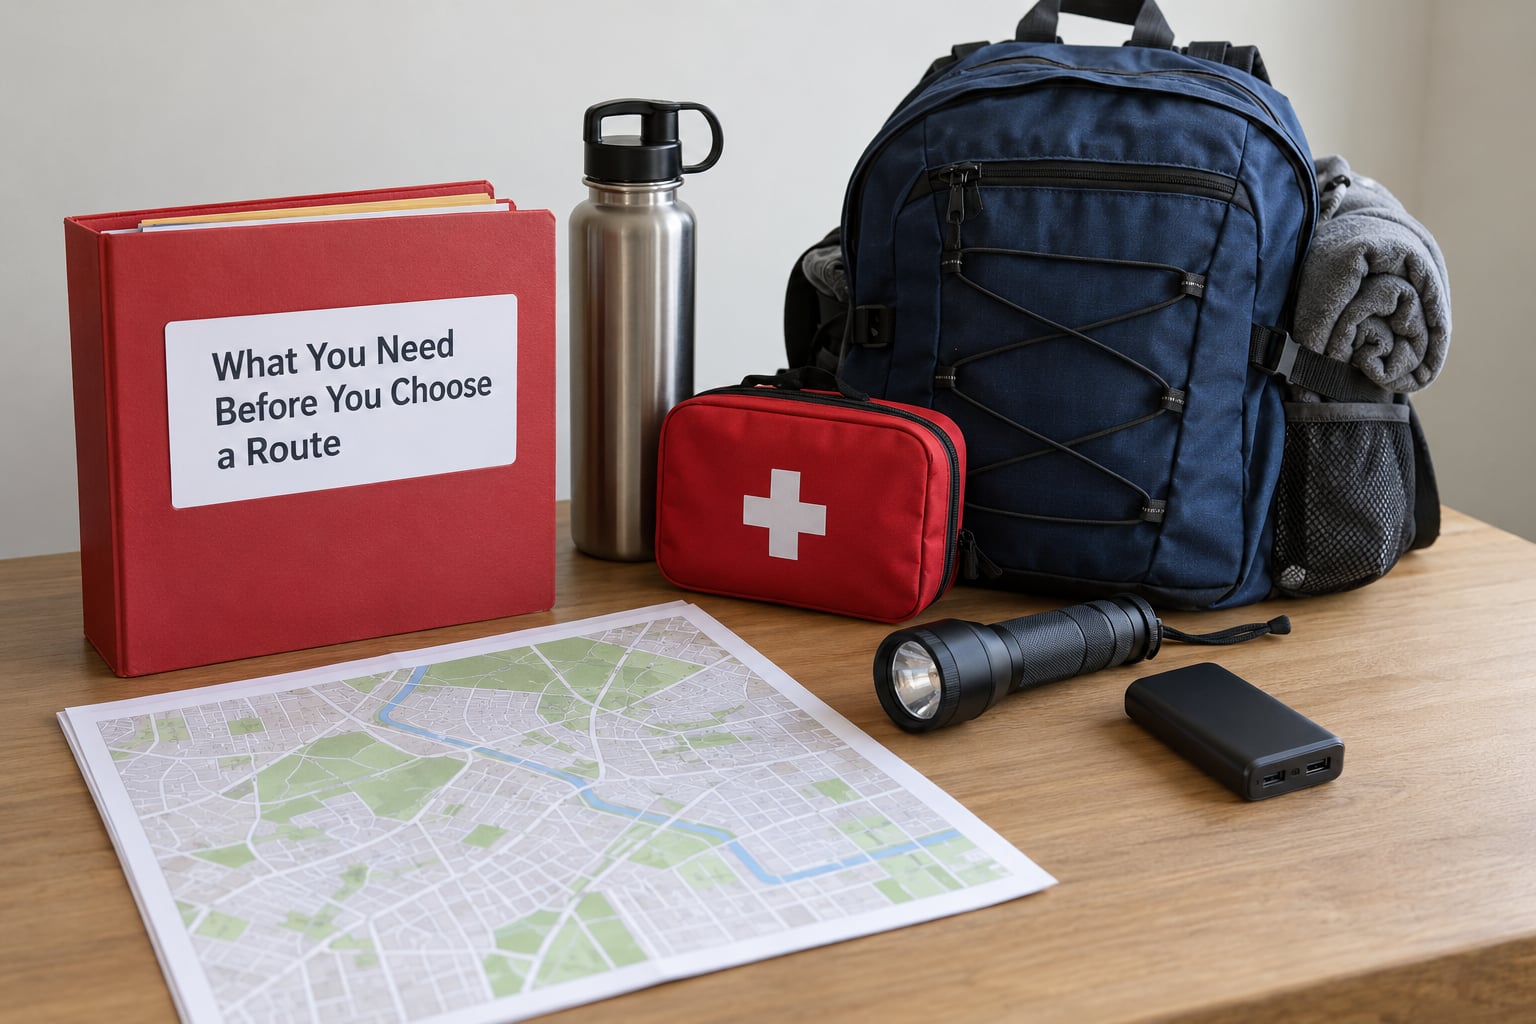
Gather these before you sketch a single line on a map. Most people try to plan a route first and stall because they cannot answer basic questions about who is in the house and what they carry.
- A paper floor plan of your home — graph paper, a notebook, or several sheets of printer paper taped together for a two-storey house.
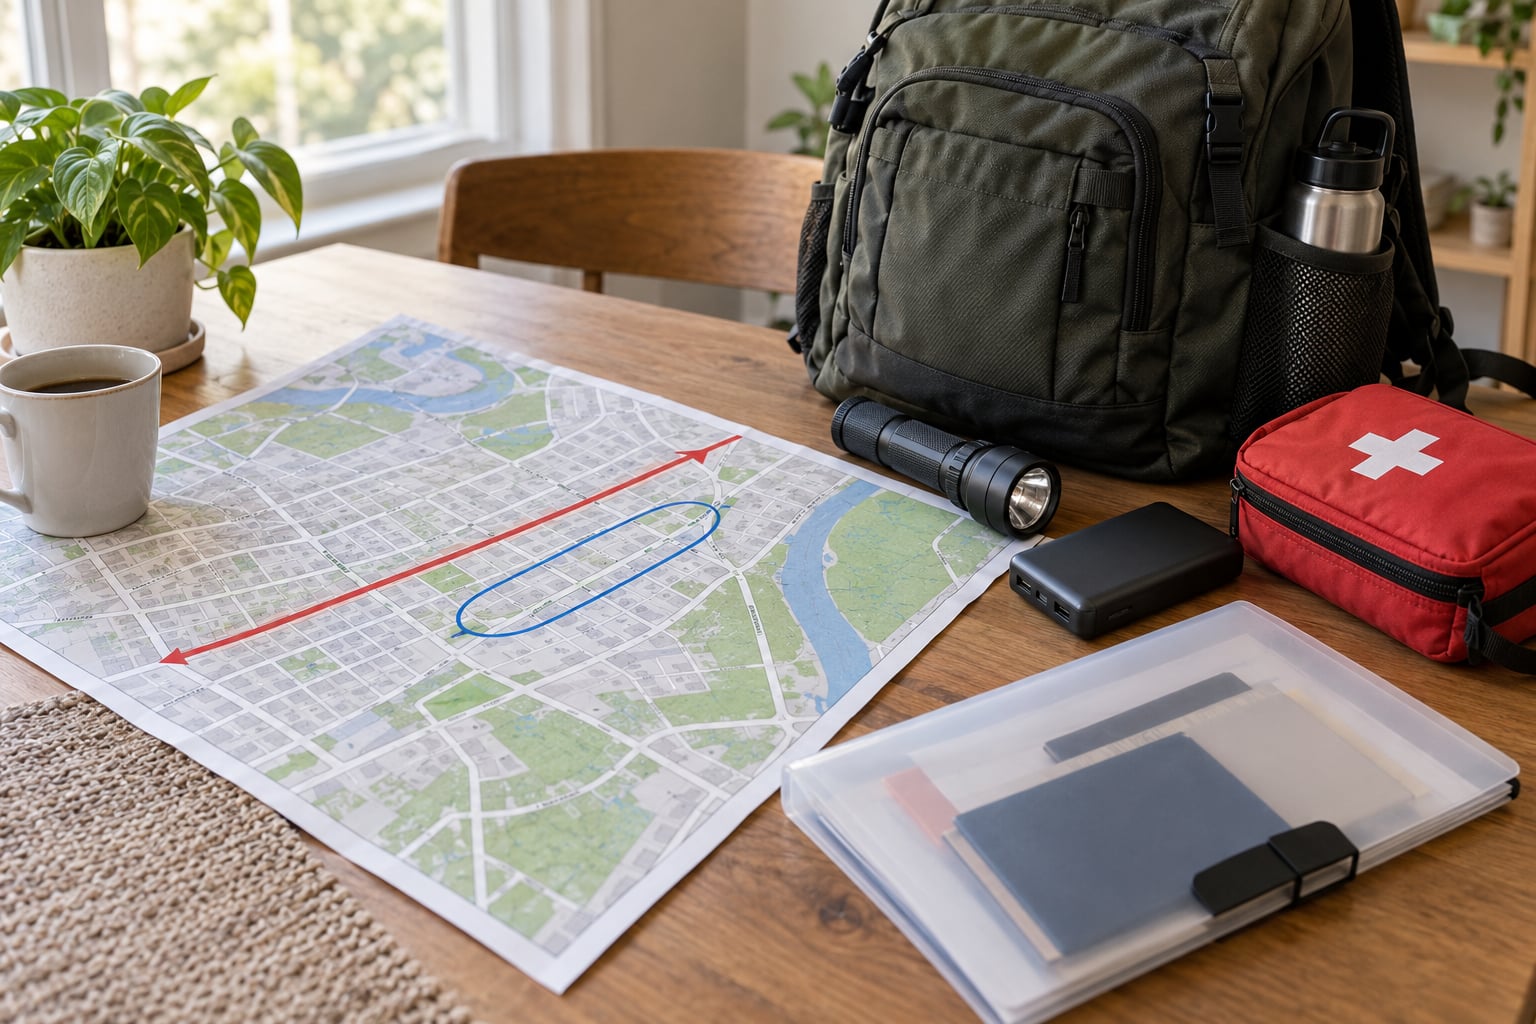
- Two markers in different colors — one for the primary escape route, one for the alternate.
- A printed local map covering at least a five-mile radius around your house, plus your county emergency management website and your state alert signup page.
- One out-of-area contact — pick a person who lives far enough away that your local cell towers and power grid probably will not be affected. Write their number by hand.
- Document copies — identification, insurance details, a home inventory, prescriptions and veterinary records, in one folder and in a cloud backup.
- Lighting and charging gear — one flashlight per adult, a battery pack, a power bank, and a car charger.
- A go bag per adult, plus a small pack each child can carry themselves.
- Medication lists, including doses, prescribing doctors and pharmacy numbers. Ask your pharmacist directly how to travel with refrigerated medication.
- Pet gear staged by an exit — carriers, leashes, water bowls, identification tags and a carrier that fits in a car.
- Utility shut-off locations — the gas valve, the electrical panel and the main water shut-off, noted on the floor plan for a renter as well as an owner.
How to Plan an Evacuation Route Step by Step
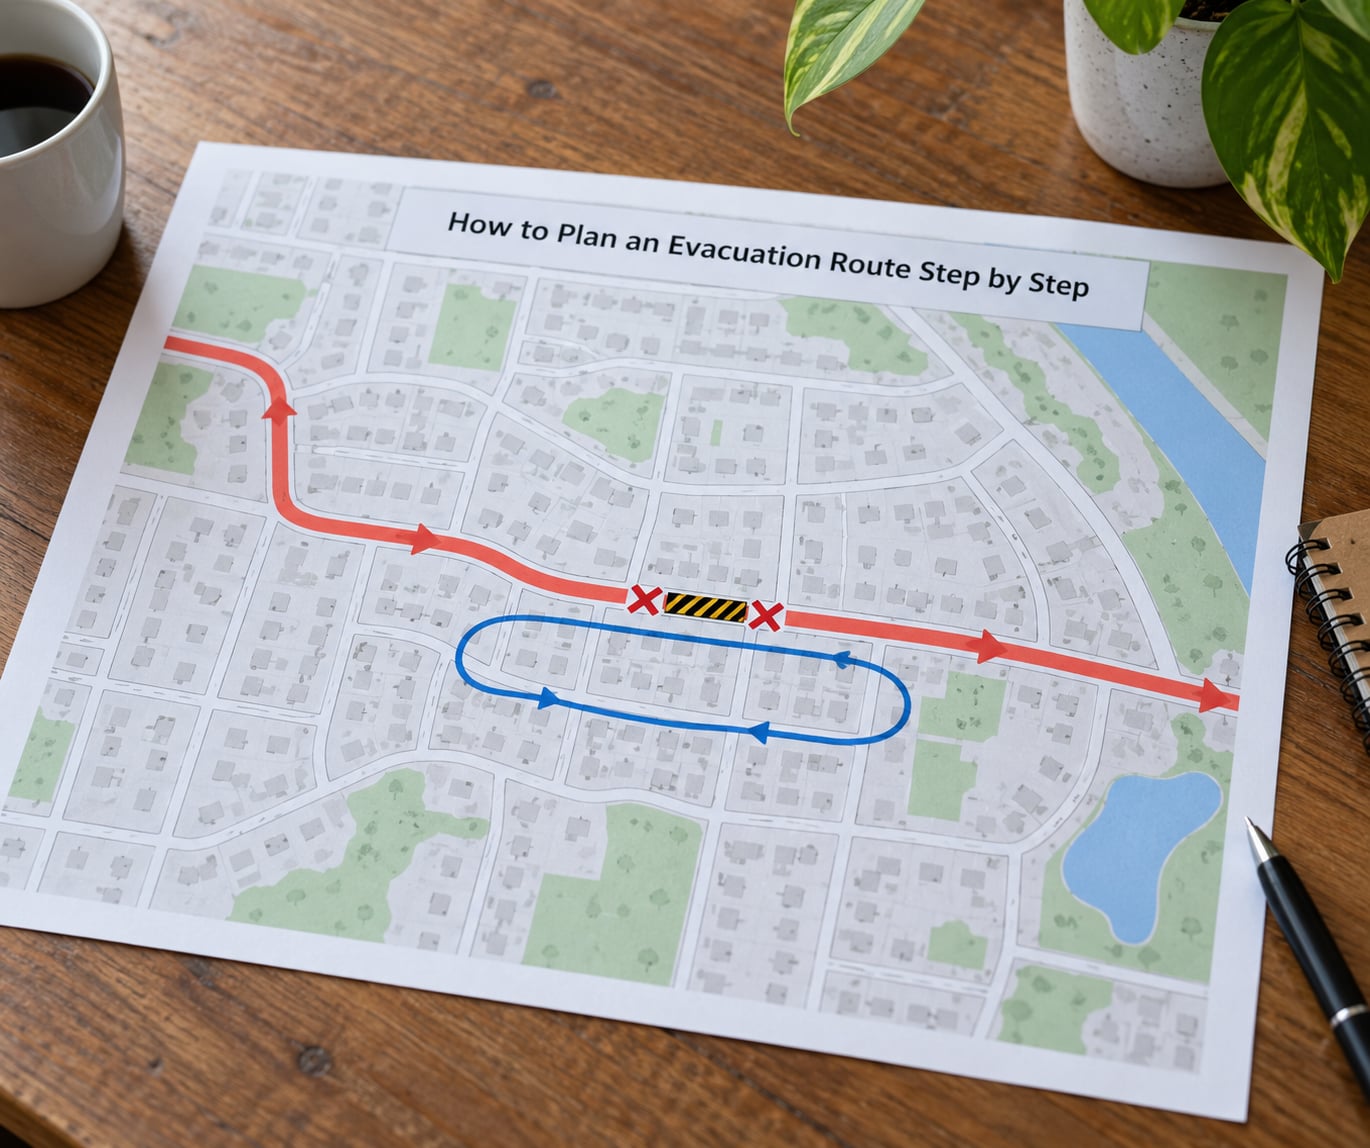
Six steps cover it. The order matters: hazards first, because a flood route and a fire route look nothing alike.
Step 1: Identify the hazards and evacuation triggers
Write down every emergency that could send your household out of the building — house fire, smoke, a gas smell, a chemical release, a flash flood, a wildfire, a hurricane, an earthquake, a blackout that cuts life-sustaining medical equipment. Beside each one, note the alert that would tell you to go: a smoke alarm, a phone alert, a siren, a utility notice, or an official evacuation order.
Know the difference between a warning and an order. A warning means danger is likely and you should be ready. An order means leave now, and it is usually backed by enforcement. Follow instructions from local emergency management, the National Weather Service, your utility, or 911 rather than guessing from what you see outside. Once you leave for an ordered evacuation, do not go back in until officials say it is safe.
Step 2: Map primary and backup routes
Every room needs two ways out — one through a door, one through a window or a second door. Bedroom doors staying closed are a major factor in how fast smoke spreads, so the escape route has to work even when someone is behind a shut door.
Then move from room exits to neighborhood exits, and name three of them. Walk each one on foot, once during the day and once at night, and time it.
| Route | When you use it | How to choose it |
|---|---|---|
| Route A — primary | Default for any emergency | The shortest dependable path to a safe destination that avoids the likely hazard area |
| Route B — backup | Route A is blocked, closed or inside the danger zone | Heavier traffic or a longer walk is acceptable here, as long as it points away from the hazard |
| Route C — last resort | Two routes are compromised | A different direction entirely, such as toward a trained responder staging area or a staffed shelter |
Check road closures on your state DOT site and download offline maps for everyone, since navigation apps fail without service. If anyone in the household uses a wheelchair, walker, oxygen concentrator or has no car, walk a walking route that a caregiver could actually manage with that equipment, and note where ramps, elevators and curb cuts break along the way.
Step 3: Decide where the family will reunite
Choose two meeting points, not one. The first should be close — the end of your street, a specific neighbor’s driveway, a cluster of mailboxes — so small children can be found in a few minutes. The second should be far enough away to survive a blocked street: a library with parking, a schoolyard, a gas station on the opposite side of town.
Neither point should require walking back toward the hazard. Tell children the address of both, and make sure anyone who picks up a child at school knows where to go. Parents have asked repeatedly what happens when the meeting point itself is unreachable; the answer is that you send the out-of-area contact the plan and move to the second point, or to Route C.
Step 4: Assign responsibilities and communication methods
Give every person one job small enough to remember under stress. For adults: one carries the infant and the infant bag, one handles pets and the pet carrier, one assists the family member who needs help, and one holds documents plus the phone. Assign the job before you need it, not in the moment.
Children handle age-appropriate work, which parents on preparedness forums say is the difference between a child following an adult and a child staying put.
- Ages 3 to 5: stay with the adult assigned to them and hold the small bag. Nothing else.
- Ages 6 to 9: find their shoes and bring the pet carrier or a sibling’s bag.
- Ages 10 to 12: check the bathroom and bedrooms for anyone or any pet left behind, then meet at the meeting point.
- Teens: carry the document folder, send the check-in text, and count everyone at the meeting point.
Set the check-in rule now: a text to the out-of-area contact saying who is out and where you are headed. Agree that if the network is down, nobody re-enters the house or the street to look for someone — everyone goes to the second meeting point and waits there.
Step 5: Prepare for children, pets, and access needs
For infants, stage the car seat by the front door, keep a pre-measured bottle and a change of clothes in the same place, and put a card in each pocket with the child’s name, your phone number and a note saying who to ask for. For pets, keep the leash and carrier beside an exit rather than in a closet, and make sure the ID tags are on the animal, not in a drawer.
For an elderly or disabled relative, name one person responsible for them and write it down. Note the fastest accessible route out, whether the building has an elevator or stairs, and whether the door at the end of the route opens without a key. Bring medication, glasses, hearing aids and chargers, and ask the prescribing clinician or pharmacist what to do if refrigeration fails. For anyone who speaks limited English, add the name of a family member or neighbour who can interpret for responders.
On shelter rules: many public shelters do not accept pets, service animals excepted. Ask your local emergency management office where pets are accepted before you need it, and keep that answer written down.
Step 6: Pack, share, and practice the plan
Turn the route plan into a go bag you can lift. Pack water, ready-to-eat food that needs no cooking, medications and a medication list, a change of clothes and shoes per person, a first aid kit, a flashlight and spare batteries, a battery pack, copies of identification and insurance documents, a small cash note, and a paper copy of the floor plan with the routes drawn on it. Weight is the deciding factor — a bag nobody can carry is a bag that stays on the floor.
Staging matters more than most people expect. Put one bag by the main exit and a second smaller one by the bedroom door, and let each child carry their own pack. Give a laminated copy of the plan card to every adult, keep one in a car glove box, and tape a copy inside a junk drawer door where it will survive a while.
Drill twice a year, one session in daylight and one after dark, and use a different exit each time. Time how long it takes the slowest person to reach the meeting point. Then spend fifteen minutes on the debrief, because that is the part almost every guide skips: what did the kids forget, which door jammed, which bag was too heavy, and what needs fixing before the real event.
Common Mistakes That Break Evacuation Plans
One route only. The single most common failure. A fire blocks the street, a flood closes the underpass, or a stalled car at the corner. Three routes cost you twenty minutes of planning and save the plan’s usefulness.
A meeting point too close to the house. If it sits on your own street, a blocked street strands everyone there. Push the second point across town and make it a place with a name you can describe to a dispatcher.
No job for the children. Kids without a concrete task follow the nearest adult, which pulls the adults apart. Assign something age-appropriate and repeat it every drill until it is automatic.
Planning around phones and GPS. Towers go down, batteries die, and screens are hard to read through smoke. Assume no service and no charging, and keep a paper map plus a written contact list.
Bags staged in the wrong place. A go bag in a hall closet while the baby is in another wing of the house is useless. Stage bags at the exits you actually use.
Forgetting medication and refrigerated items. Write the list out and pack the prescriptions. Ask the pharmacist how to transport refrigerated medication before the outage, not during it.
Practising once, then forgetting. A plan that has not been walked since last spring is a plan nobody can recall calmly. Twice a year, with a debrief, is the standard that works.
Frequently Asked Questions
Which route should you use to evacuate?
Use Route A, your primary route, unless it is blocked, closed or inside the hazard zone. Switch to Route B, which points in a different direction even if it is longer, and to Route C, a last resort such as a staffed shelter or responder staging area, when two routes are compromised. Walk all three beforehand so the switch is a decision, not a guess.
How do you create an evacuation map for your home?
Sketch a floor plan on graph paper or taped printer sheets, label every room, and mark at least two exits from each one, including a window where no second door exists. Use one color for the primary escape route and another for the alternate. Then trace the route from your main exit to the street and out to your first meeting point.
Where should families meet after an evacuation?
Pick two points: one within a few minutes on foot, such as a neighbor’s driveway or a mailbox cluster, and one farther away on the other side of town, such as a library parking lot. Choose locations that do not require walking back toward the danger. Give the addresses to every child, the school, and anyone who might pick your child up.
Are pets usually allowed into evacuation shelters?
Often not. Many public shelters accept only people and service animals, because they cannot manage food, water, veterinary care or liability for animals. Ask your local emergency management office now which shelters or pet-specific sites are open near you, and keep carriers, leashes and identification tags staged beside an exit so animals leave with you.
What do you pack in an evacuation bag?
Pack water, ready-to-eat food that needs no cooking, medications plus a written medication list, a change of clothes and shoes for each person, a first aid kit, a flashlight with spare batteries, a battery bank, copies of identification and insurance documents, and a paper copy of your floor plan. Keep one bag per adult and a lighter one each child can carry themselves.
How long does a family have to evacuate a house fire?
Fire officials typically describe about two minutes to get out of a burning home, and smoke often reduces visibility within minutes. That is why the route out, the meeting point and the bags need to be known in advance rather than figured out during the alarm. Leave immediately when you leave, close doors behind you, and do not re-enter for belongings.
What to Do First
Start with the floor plan tonight: mark two exits from every room, then walk three routes out of your neighborhood and pick the two meeting points. That is the whole plan. Everything else — bags, contacts, drills — makes it work, but a family that knows where to go in the first ninety seconds has already done the part that matters.